
Last updated November 17, 2026
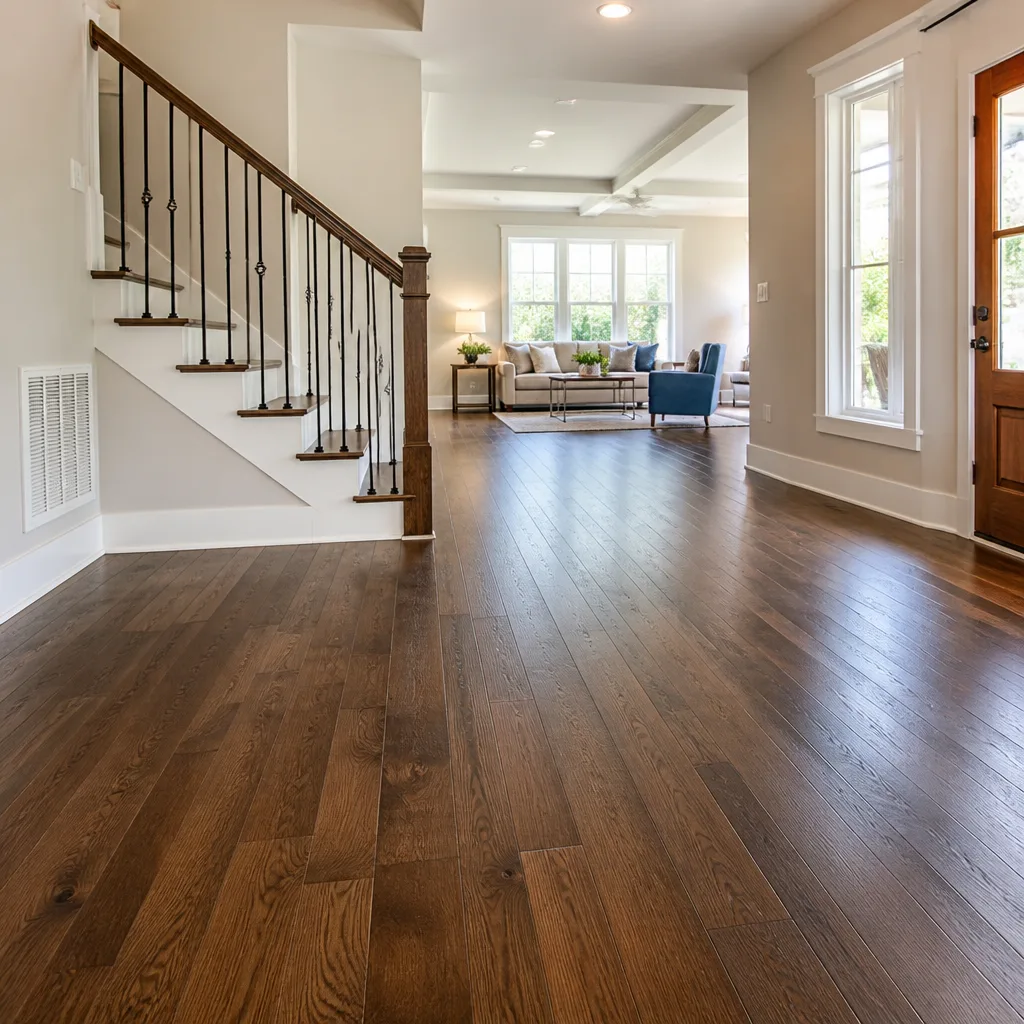 Hardwood
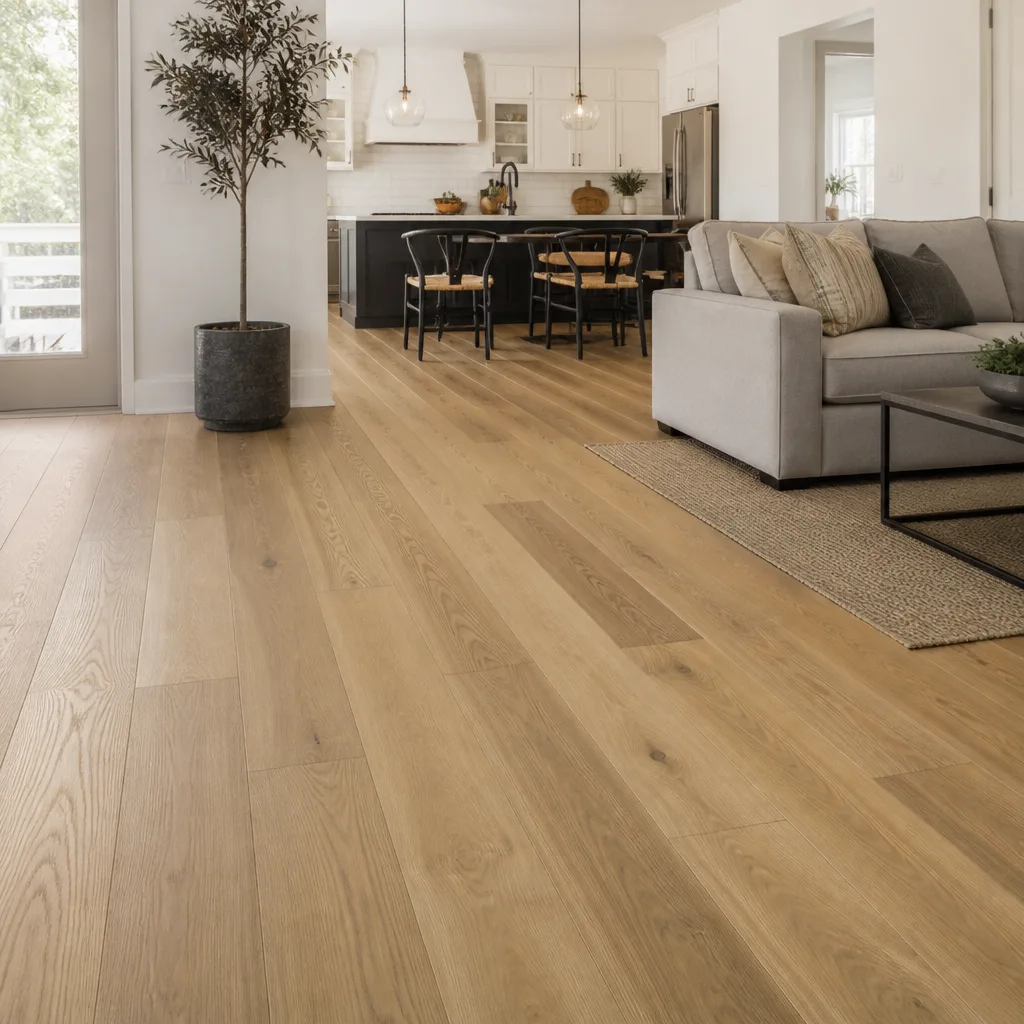 Engineered hardwood
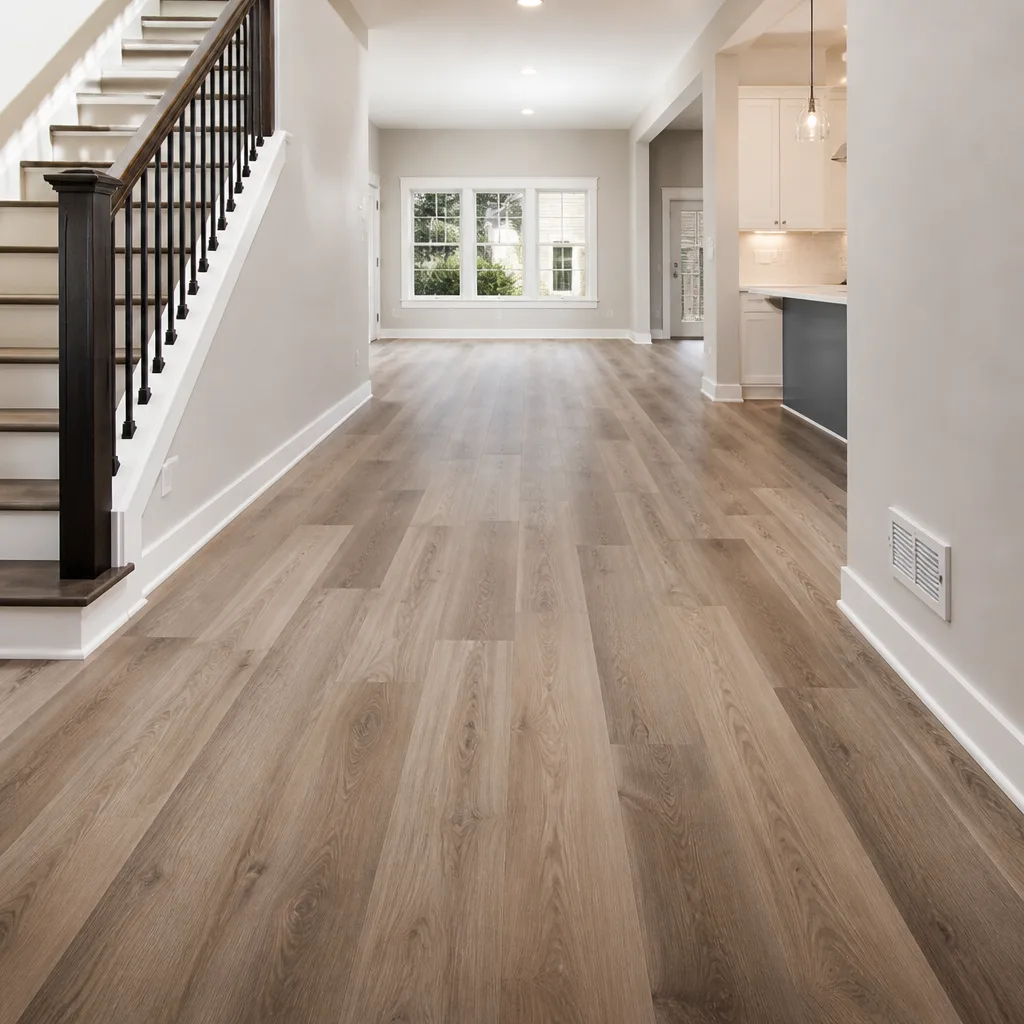 Luxury vinyl plank
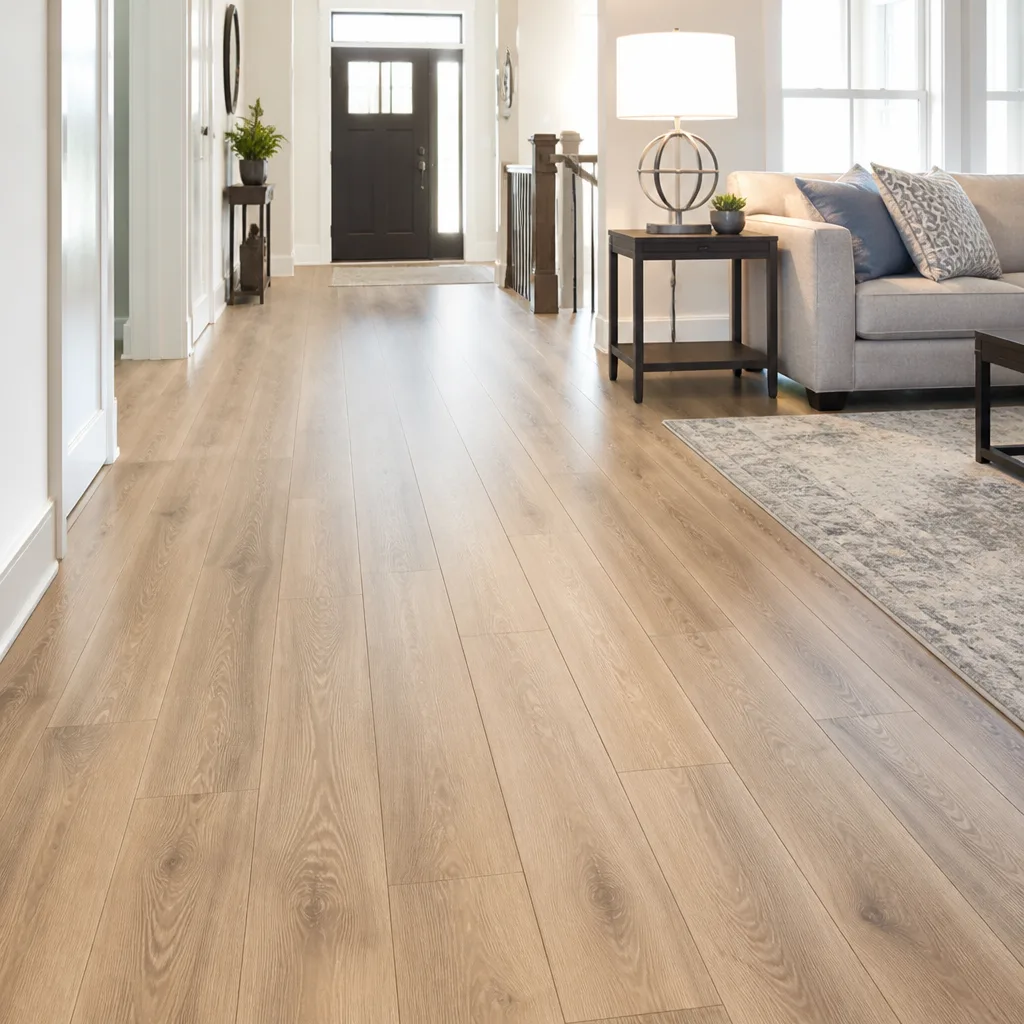 Laminate
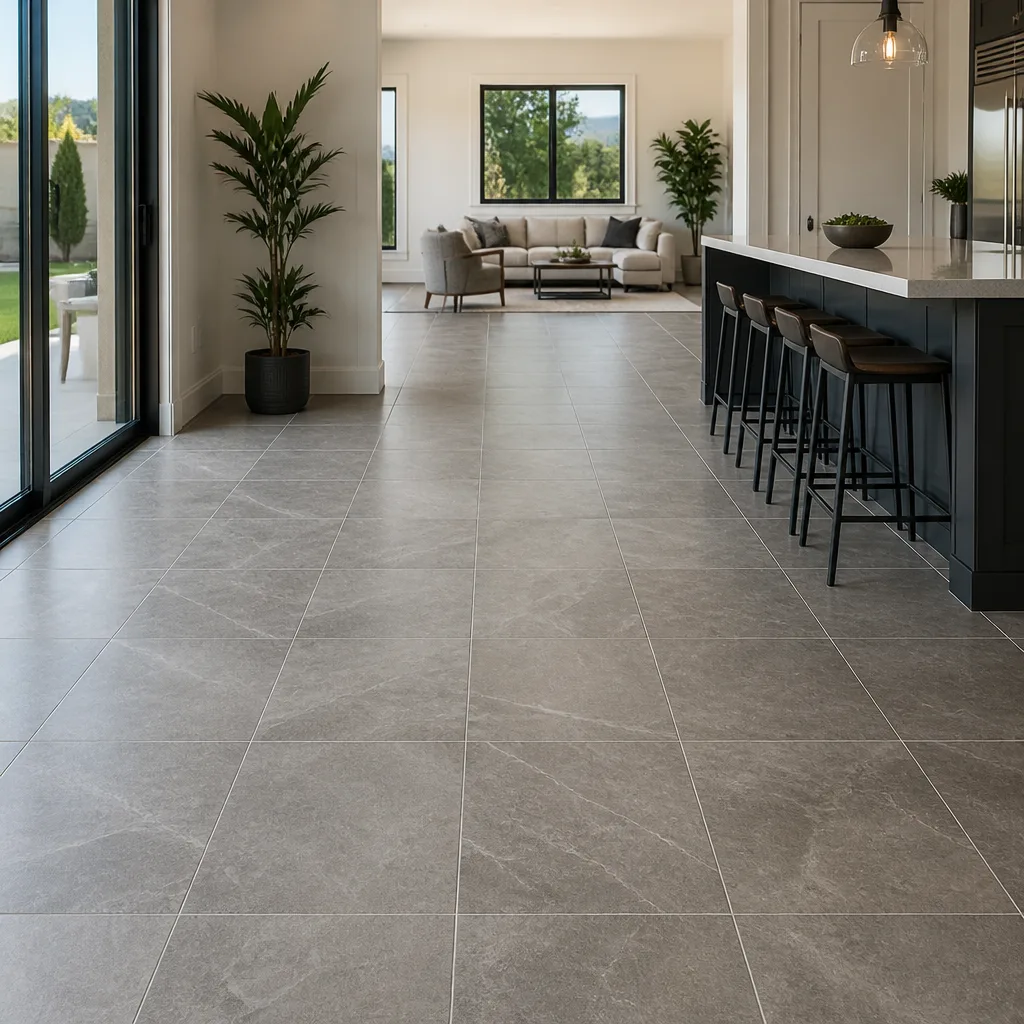 Porcelain tile
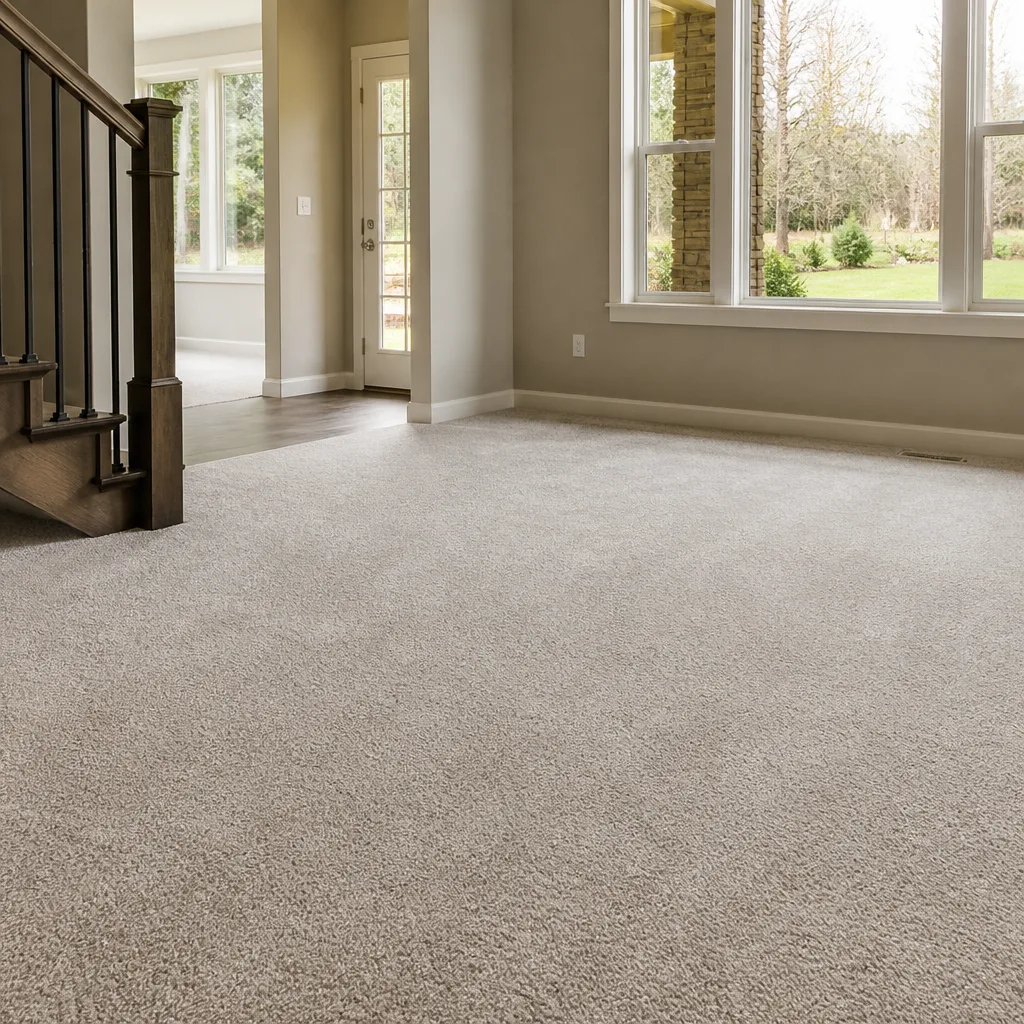 Carpet
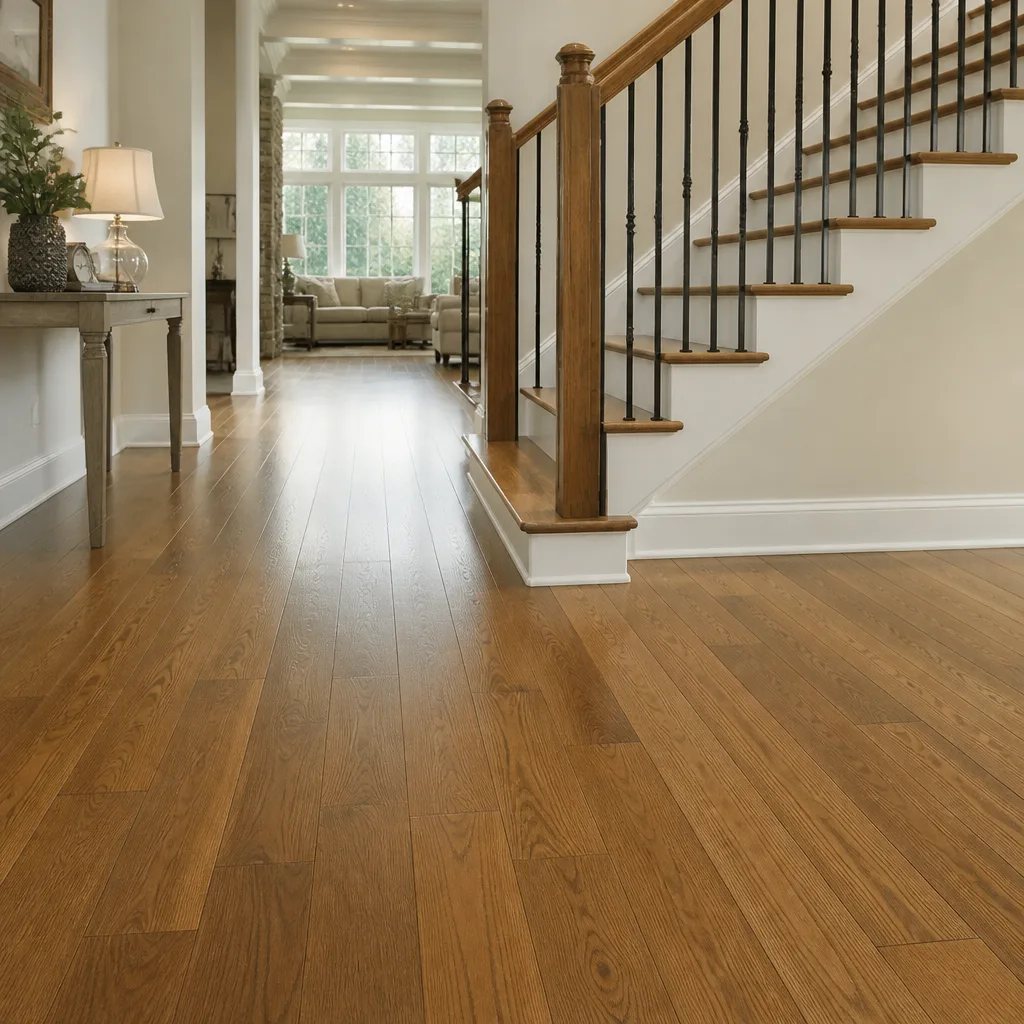 Shaw
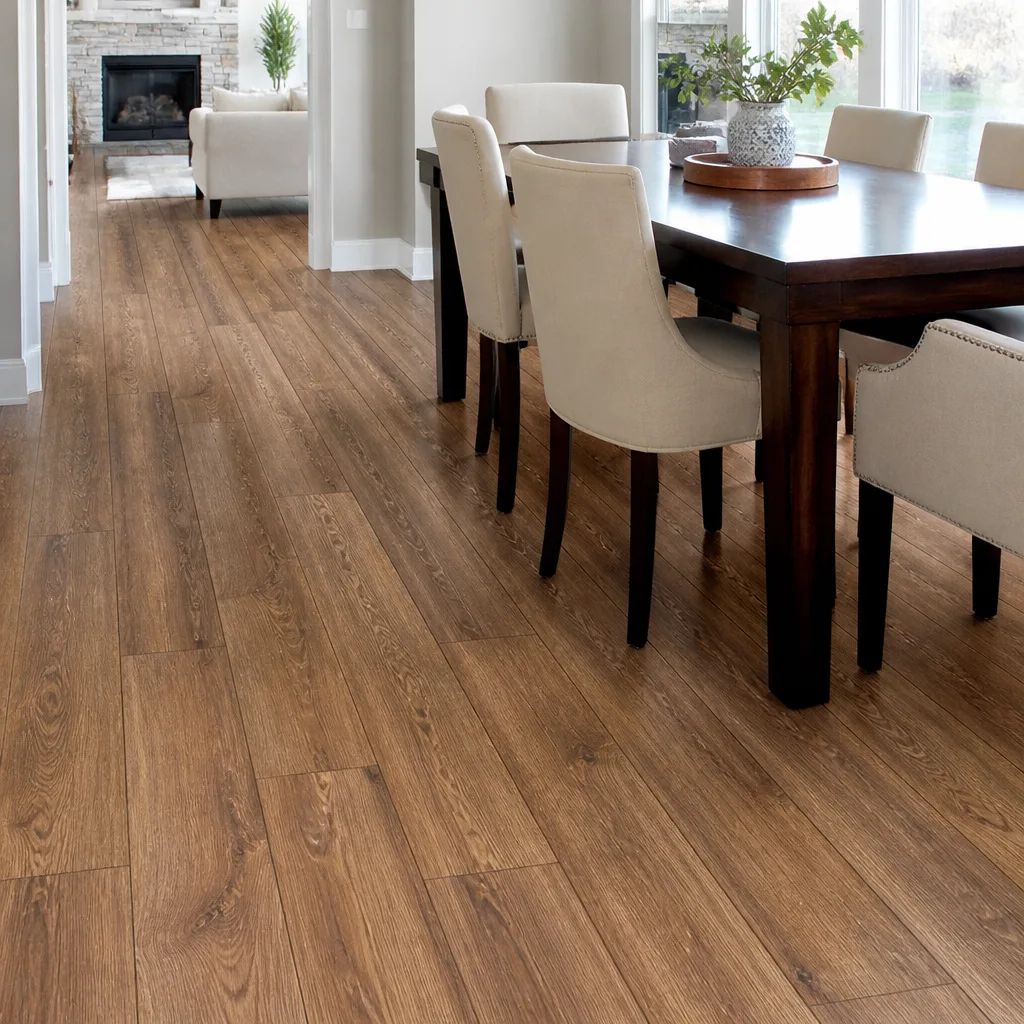 Mohawk
 COREtec
 Pergo
Free in-home measure and written estimate: Shaw, Mohawk, COREtec and Pergo lines compared on your own rooms, with carpet, tile, vinyl plank, laminate and hardwood laid out side by side
Get your free estimateSubfloors Explained: What Sits Under Your New Floor
You can install a $12 per square foot floor over a bad subfloor and watch it fail in two years. Or you can install a $4 per square foot floor over a properly prepped slab and have it outlast the house. Every homeowner planning an upgrade spends hours on color, plank width, and texture. Very few ask the question that actually determines the outcome: what is the floor being fastened to? In Paradise, most homes sit on poured concrete slab, and that slab’s condition is the single biggest variable in whether your installation lasts a decade or a generation. This guide covers the two subfloor types common in Paradise, how moisture and flatness are tested, what remediation runs, and how to spot damage before demo day.
Quick Answer
The subfloor is the structural surface beneath your finished flooring, and in Paradise it is almost always either a poured concrete slab or a wood frame topped with plywood. Concrete slabs must be tested for moisture vapor emission (MVER) and checked for flatness before any floor goes down, while wood subfloors must be checked for deflection, moisture content, and fastener integrity. If the subfloor is out of tolerance, the floor above it will telegraph the problem, whether that is a hollow sound under LVP, a cracked grout joint, or a carpet that puckers at the seams.
Styles & brands we work with
- Hardwood
- Engineered hardwood
- Luxury vinyl plank
- Laminate
- Porcelain tile
- Carpet
- Shaw
- Mohawk
- COREtec
- Pergo
Table of Contents
- The Two Subfloors in Paradise Homes
- Concrete Slab Moisture: How It’s Tested
- Flatness Versus Levelness
- Self-Leveling Compound: What It Fixes and What It Can’t
- Wood Frame Subfloors and Deflection
- Spotting Subfloor Damage Before Demo Day
- What Subfloor Prep Costs
- Common Mistakes to Avoid
The Two Subfloors in Paradise Homes
Walk any neighborhood in Paradise, from the older tracts near the Strip corridor to the newer builds closer to the foothills, and you will find two subfloor types. Single-story homes and most first floors sit on poured concrete slab. Two-story homes typically have a wood-frame second floor with plywood or OSB sheathing over joists. The install method changes completely between the two.
On concrete slab, the finished floor floats, glues down, or is set in thin-set mortar. Carpet is stretched over tack strip and pad. Tile is bonded with thin-set and grout. Hardwood is usually glued or floated. On wood frame, the same products are installed over plywood, but now deflection, joist spacing, and fastener depth matter. Ceramic and porcelain tile over a wood frame require a stiff substrate and often an uncoupling membrane. Carpet over plywood needs a clean, sound surface so the pad does not conform to irregularities.
- Concrete slab: Watch for moisture, flatness, cracks, and curing-related dust. This is the majority of Paradise ground floors.
- Wood frame: Watch for deflection, squeaks, delamination of the plywood, and prior water damage near bathrooms and laundry rooms.
- Mixed homes: A two-story Paradise home may need two different prep strategies on the same job, which is one reason Paradise Flooring Installation plans subfloor work room by room.
Installers who do not ask which subfloor they are working on are installers who have not read the product spec closely enough. The spec sheets for COREtec, Pergo, and LifeProof all address slab conditions and substrate flatness separately because the requirements are not the same. We flag this at the estimate because it changes the price and the schedule.
Concrete Slab Moisture: How It’s Tested
Concrete is never dry. It wicks vapor from the soil beneath it and releases it slowly upward for years. That vapor has to escape somewhere, and if a flooring product traps it, the floor above can cup, bubble, or grow a musty smell. This is why a moisture test is a first step in any Paradise installation over slab, not an optional add-on.
There are two common tests. The first is the calcium chloride test, which measures the rate at which vapor passes through the slab. The second is the in-situ relative humidity probe test, which measures humidity directly inside the slab. A third option, ASTM F2170-based probe testing, is widely used in the trade for its accuracy. The reading matters, but so does the product. Some vinyl planks and tile assemblies tolerate a higher vapor rate than solid hardwood. {Some} tile flooring installation assemblies and thin-set products specify their own MVER limits. Hardwood adhesives and solid wood floors often require much lower readings.
Here is how we approach testing on a Paradise job:
- Let the slab sit undisturbed and uncovered for as long as the product instructions require, which varies by product.
- Test at multiple locations, because a slab does not dry evenly and a room near a bathroom or exterior wall can read very differently than the middle of a living room.
- Record the readings in the written estimate so the customer knows what was tested and what limit applies.
- Compare the readings to the manufacturer’s published limit for the specific product before deciding on prep.
If the slab is above the limit for a given product, the options are a vapor retarder, a moisture-mitigating coating, or selecting a product with a higher tolerance. Mannington and other brands publish MVER limits for their products, and the written estimate should cite the number. We do not guess at moisture tolerance, and you should not let anyone guess on your job either.
Flatness Versus Levelness
These two words get used interchangeably by homeowners and by contractors who should know better, so it is worth separating them. Levelness is about gravity. Flatness is about whether a straightedge laid on the floor shows a gap underneath it. A sloped floor, like the floor of a garage or a drainage-pitched patio room, can be perfectly flat without being level. A floor can also be level without being flat, which is the more common problem in residential flooring.
Why it matters: flooring products are installed to a flatness tolerance, not a levelness tolerance. Manufacturers usually publish a specification for flatness over a set distance, often expressed as a gap under a straightedge. Some products are more sensitive to flatness deviations than others.
- Most sensitive: Large-format porcelain and ceramic tile, rigid-core LVP like LifeProof, and laminate with tight locking joints. Small deviations telegraph as hollow spots, cracked joints, or click failures.
- Moderately sensitive: Glue-down and floating engineered hardwood. Tend to tolerate minor deviations better than large tile but still need prep for anything significant.
- Least sensitive: Carpet over a quality pad. Pad absorbs small deviations, though severe humps and dips still show through as ridges and shadows.
Flatness is measured at the estimate with a long straightedge or a laser level, and the readings are what drive the self-leveling decision. If a room reads flat, you save the prep charge. If it does not, you know the cost before demo begins. That is the value of a proper carpet installation plan or a tile plan that starts with a flatness check rather than a product selection.
Self-Leveling Compound: What It Fixes and What It Can’t
Self-leveling compound is the tool that resolves most flatness issues on a concrete slab. It is a flowable underlayment poured or troweled over the slab to create a smooth, flat surface within tolerance. It hardens into a dense, stable substrate that accepts thin-set, adhesive, or floating floor systems. In a typical Paradise room over slab, it is the fastest path from a marginal slab to a spec-ready surface.
What it fixes:
- Low spots and birdbaths in a poured slab.
- Shallow dips around drains and penetrations.
- Minor ridge lines from troweling during the original pour.
- Surface imperfections left after thin-set or adhesive removal.
What it does not fix:
- Structural cracks that are still moving. Those need evaluation before any pour.
- Excess moisture. Compound is not a vapor barrier, and pouring it over a wet slab traps the problem, not the solution.
- Major humps or high spots that need grinding rather than filling.
- A subfloor with deflection or soft spots. On wood frame, self-leveler can be part of the solution but only after the framing is confirmed sound.
Typical cost for a standard-size Paradise room ranges from moderate to high depending on the square footage, the depth of the pour, and whether the slab needs grinding first. The written estimate sets the final price. We do not quote compound work as a flat per-room rate because depth varies so much from job to job.
Wood Frame Subfloors and Deflection
Second floors in Paradise homes sit on wood joists with plywood or OSB sheathing. Two things matter here that do not apply to slab: deflection and fastener integrity. Deflection is how much the floor moves under load. The published deflection standard for tile assemblies is a starting point, and stiffening the framing or adding a membrane is sometimes the answer. Fastener integrity is separate. Squeaks, pops, and loose sheathing panels have to be addressed before any floor goes down, or the noise transfers straight through.
On a wood-frame floor, our sequence at an estimate usually runs like this:
- Walk the room and listen for squeaks. Mark the location of every one.
- Check the sheathing for soft spots, delamination, or prior water staining, especially near bathrooms and window walls.
- Confirm joist spacing and check the span against the product spec for the floor the customer wants.
- Address any deflection through sistering, blocking, or an appropriate underlayment membrane.
- Re-fastener any loose sheathing and fill seams as the product requires.
If tile is the goal, the deflection spec is tight and the subfloor often needs an uncoupling membrane or a cement backer board. If Pergo or engineered hardwood is going in, the deflection limit is more forgiving, but flatness and fastener integrity still govern. We quote the wood-frame prep separately from slab prep because the two jobs involve completely different labor.
Spotting Subfloor Damage Before Demo Day
The best time to find subfloor damage is before you sign off on the estimate. Once demo begins, every discovery is a change order, and change orders are where budgets get away from homeowners. There are a few honest signals you can check yourself before you call.
- Baseboards: Swollen or soft baseboards, especially on exterior walls, suggest moisture has been wicking through the subfloor for a while. Look for paint blistering or dark staining at the base of the wall.
- Transitions between rooms: Lifted transitions, gaps, or a step you did not notice a year ago can indicate movement in the subfloor. On wood frame, this often traces to a joist issue.
- High-traffic zones: A dip at the doorway between kitchen and hallway, or a hollow sound under carpet in front of a sofa, usually means the existing floor is bridging over a low spot.
- Floor squeaks: Squeaks that have gotten worse over the past year are a signal. Squeaks that have always been there may just be a fastener issue.
- Cracks in existing tile or grout: Hairline cracks running in a straight line often trace to a subfloor joint or a moving crack below.
- Musty smell: A smell that gets worse after a wet season points to moisture, not the visible floor.
At the estimate visit we lift a transition or check the perimeter where the existing floor meets the wall, which tells us more about the slab or frame than any other single inspection. If we find something, the estimate reflects it before we start demo. If you want to see how this plays into a whole-home project, the tile flooring installation page covers how the prep decision changes room to room.
What Subfloor Prep Costs
Subfloor prep is the variable that homeowners underestimate. The floor you see has a published per-square-foot price. The prep work underneath does not, because it depends entirely on the slab or frame in your home. Here is how we think about the cost ranges.
- Moisture test: Included with the free estimate on slab jobs. Testing is not a line-item charge we add later.
- Self-leveling compound: Typically priced by square footage and depth. A standard room runs in the mid-hundreds to low four figures depending on size and pour depth.
- Grinding and prep work: Priced by the hour or the square footage when high spots, adhesive residue, or thick coatings have to come up first.
- Vapor retarder or moisture-mitigation coating: Priced per square foot, and required when slab readings exceed the limit for the selected product.
- Wood-frame repair: Sistering, blocking, re-fastenering, and subfloor patch work priced per repair, not per square foot of finished floor.
- Removal of existing flooring: Separation of demo prep from install cost so you can see exactly what is going on under the surface.
The written estimate itemizes each of these that applies to your job. If your slab reads flat and dry, prep may be minimal. If it does not, we would rather tell you before demo than surprise you after. Paradise Flooring Installation handles subfloor prep and the finished installation as one scope so the schedule and price stay aligned.
Common Mistakes to Avoid
- Skipping the moisture test because the slab looks dry. Concrete that looks dry can still emit enough vapor to ruin a floor. Always test before installing over a Paradise slab.
- Pouring self-leveler over a moisture problem. If the slab reading exceeds the product limit, compound traps the vapor instead of solving the problem. Address moisture first, then flatness.
- Treating flatness and levelness as the same thing. A sloped floor can be perfectly flat and ready for tile. A perfectly level floor can still have a dip that breaks a rigid plank’s locking joint.
- Choosing a product before checking the subfloor. The product often determines what prep is allowed. Pick a flooring system that fits the actual subfloor condition, not the other way around.
- Ignoring a squeak during the estimate. Every squeak is a loose fastener or a moving panel, and it will telegraph through a hard floor even if it hides under carpet.
- Assuming a general handyman can handle subfloor prep. Moisture testing, flatness readings, compound depth, and deflection checks are the work that separates an installer from a general contractor.
- Not getting prep itemized in the written estimate. Subfloor prep is the biggest source of change orders in residential flooring. Itemize it on paper before demo day.
See the difference
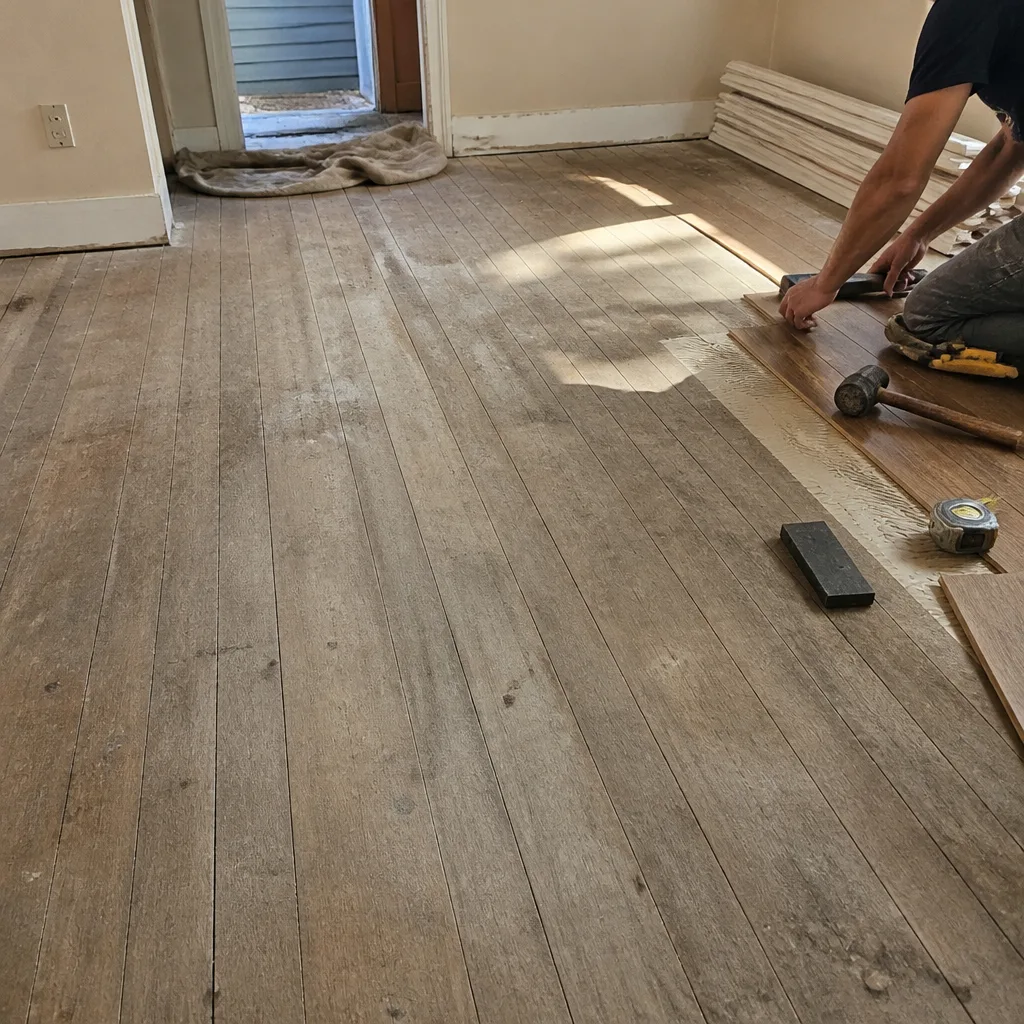 Before
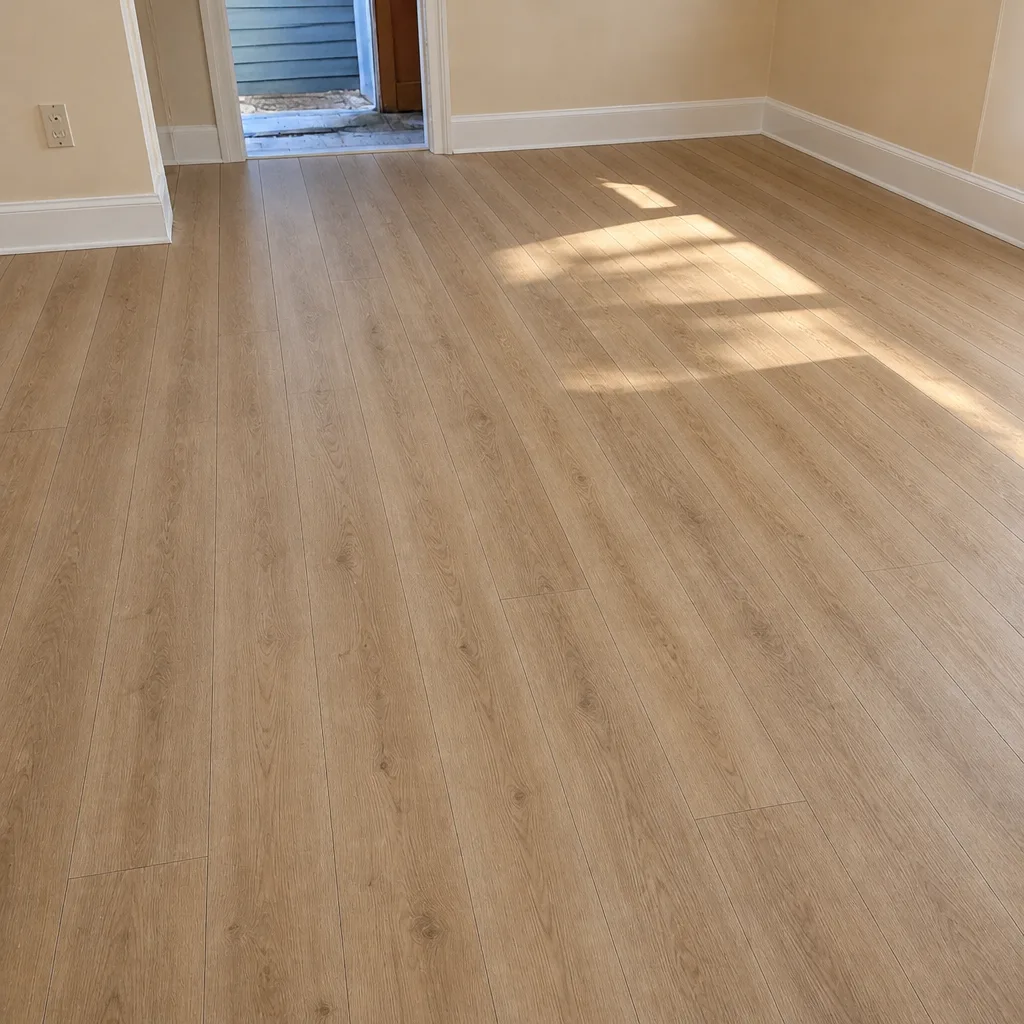 After
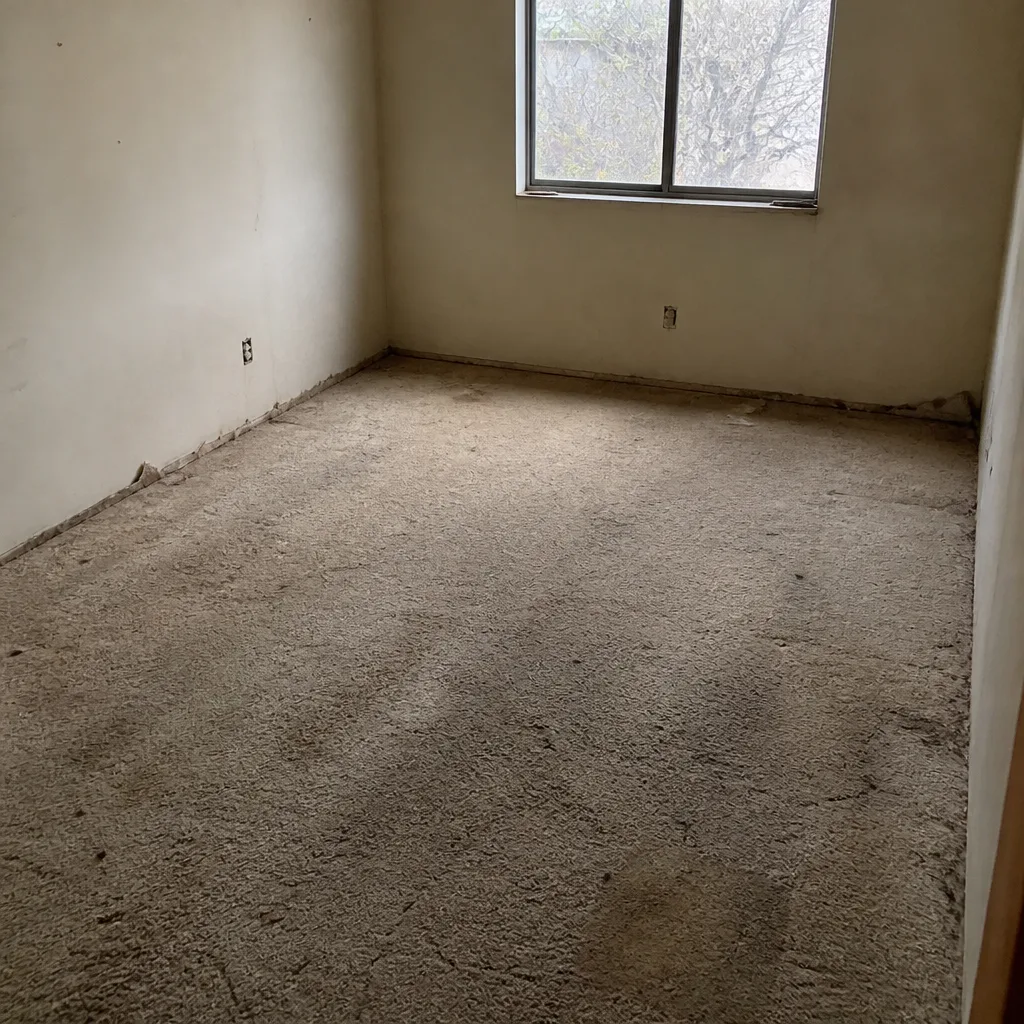 Before
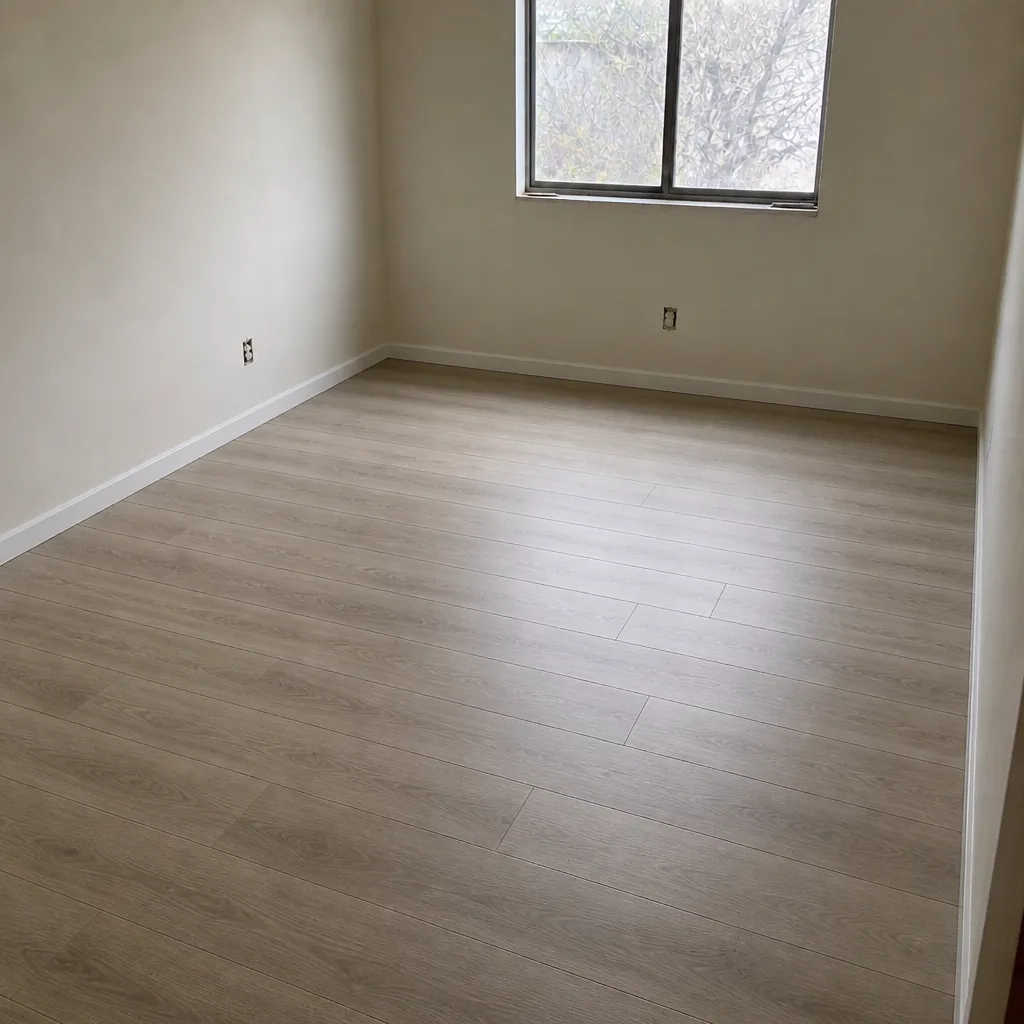 After
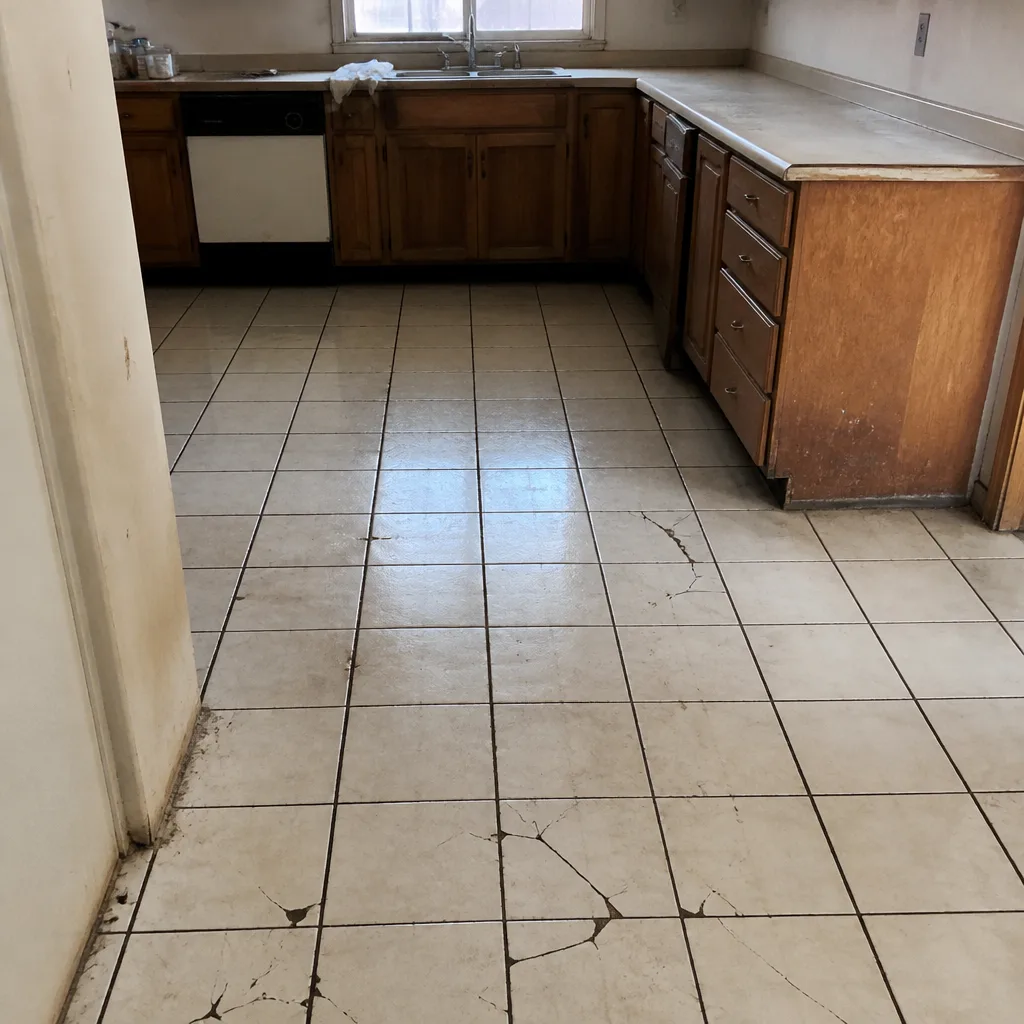 Before
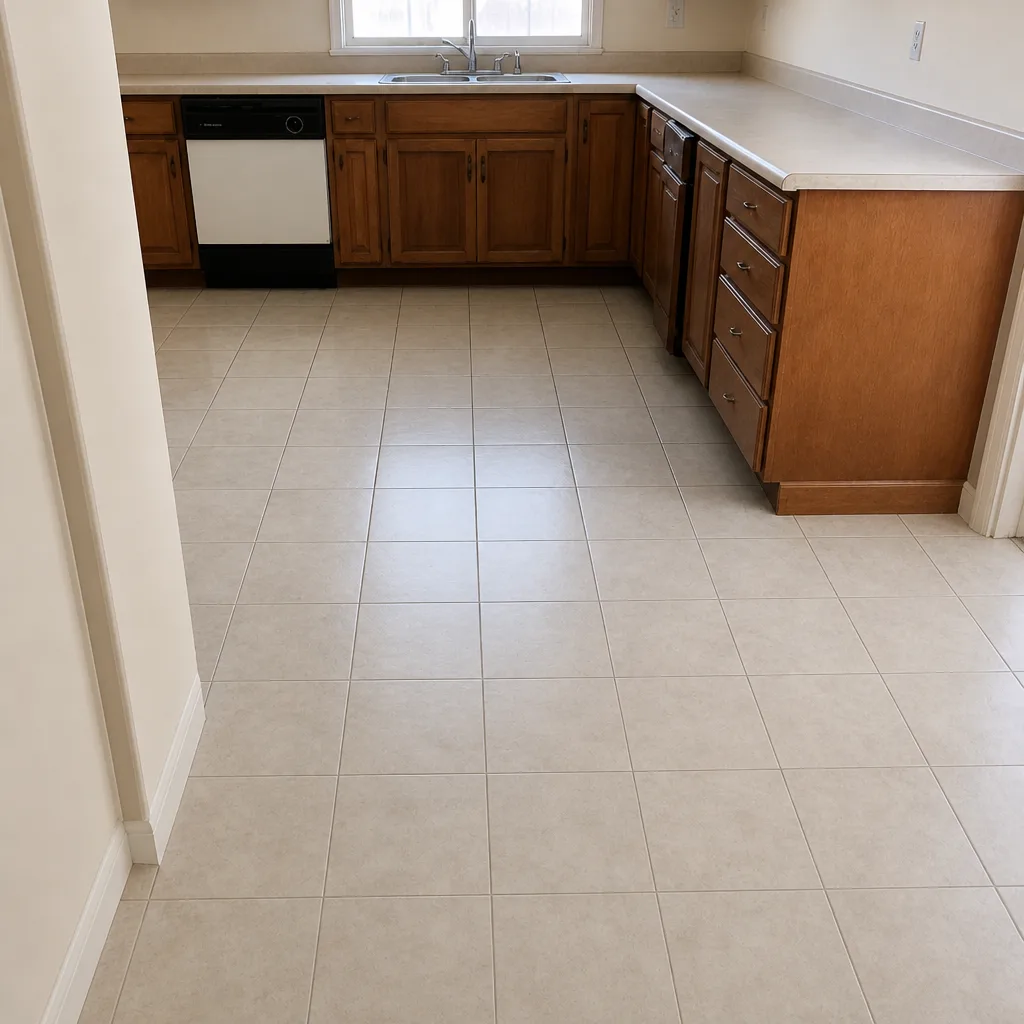 After
When to Call a Professional
You should call a professional any time you are planning to install a hard floor over a slab in Paradise and you do not know the moisture reading. You should also call if the existing floor has developed hollow sounds, if baseboards are soft or stained, if tile or grout has developed a straight-line crack, or if you are moving from carpet to tile or rigid plank and have not had flatness checked. If a subfloor has flooded, has visible cracks wider than a hairline, or has any deflection that shows up when you walk across the room, those are all jobs where a professional needs to look before a product gets selected. Paradise Flooring Installation offers free estimates in Paradise. Call (844) 651-6528 to book one. Our technicians have up to 11 years of experience with slab and wood-frame subfloor work, and the written estimate itemizes the prep so you know what you are paying for.
Frequently Asked Questions
A subfloor is the structural surface beneath your finished flooring. In Paradise, most ground floors are poured concrete slab, and second floors are wood frame topped with plywood or OSB sheathing. The finish floor goes on top of it.
Yes, always. Concrete emits moisture vapor for years, and every flooring product has a published limit for how much it can tolerate. Test at multiple locations in the room and compare the readings to the specific product’s spec before any install. Call (844) 651-6528 to schedule a free estimate where we test the slab.
Varies by condition. Self-leveling compound for a standard room typically runs in the mid-hundreds to low four figures depending on size and pour depth, and moisture mitigation or wood-frame repair is quoted separately. The written estimate sets the final price. Call (844) 651-6528 for an exact quote, free estimates.
Flatness is whether a straightedge laid on the floor shows a gap. Levelness is whether gravity pulls water one way. Flooring products are installed to a flatness spec, not a levelness spec, and rigid products like large tile and click-lock LVP are the most sensitive to flatness. Ask for flatness readings at the estimate.
No. It resolves low spots and shallow dips on a stable slab, but it cannot fix active structural cracks, excess slab moisture, or major humps that need grinding first. On wood frame, framing deflection has to be addressed before compound is poured.
Large-format tile, rigid-core LVP, and tight-locking laminate tend to be the most sensitive to flatness deviations, though each product’s spec drives the decision. Glue-down engineered hardwood and carpet tolerate more variation. The written estimate specifies which limit applies to the product you choose.
Check baseboards for soft or stained material, look at transitions between rooms for lifted edges, listen for new squeaks, and note any straight-line grout or tile cracks. Those signals all point to subfloor issues with the existing floor. A free estimate visit confirms them before demo day.
The Bottom Line
Your new floor is only as good as the surface it sits on. In Paradise, most homes sit on concrete slab, and slab condition drives the whole project. Test for moisture before you pick a product. Measure flatness before you commit to a rigid floor. Itemize subfloor prep on the written estimate so you are not surprised when demo opens up a problem. The counterintuitive truth is that a modest floor over a properly prepped slab will outperform a premium floor over a bad one every time. Get the subfloor right first, and the finished room takes care of itself. If you are planning a project in Paradise, the free estimate is the right starting point.
Paradise Flooring Installation installs carpet, tile, and hardwood across a nine-brand portfolio, including Shaw, Mohawk, COREtec, Pergo, LifeProof, Mannington, Armstrong, Daltile, and Karndean. Whether the job is a single room or a whole-home renovation, we plan the subfloor prep alongside the finish floor so the schedule and price are set before demo. Call (844) 651-6528 to book a free estimate. We answer 24/7. Fast dispatch from 7am to 7pm, Sunday through Friday, and we are closed Saturday. The written estimate sets the final price.
Written by the team at Paradise Flooring Installation.