
Last updated November 17, 2026
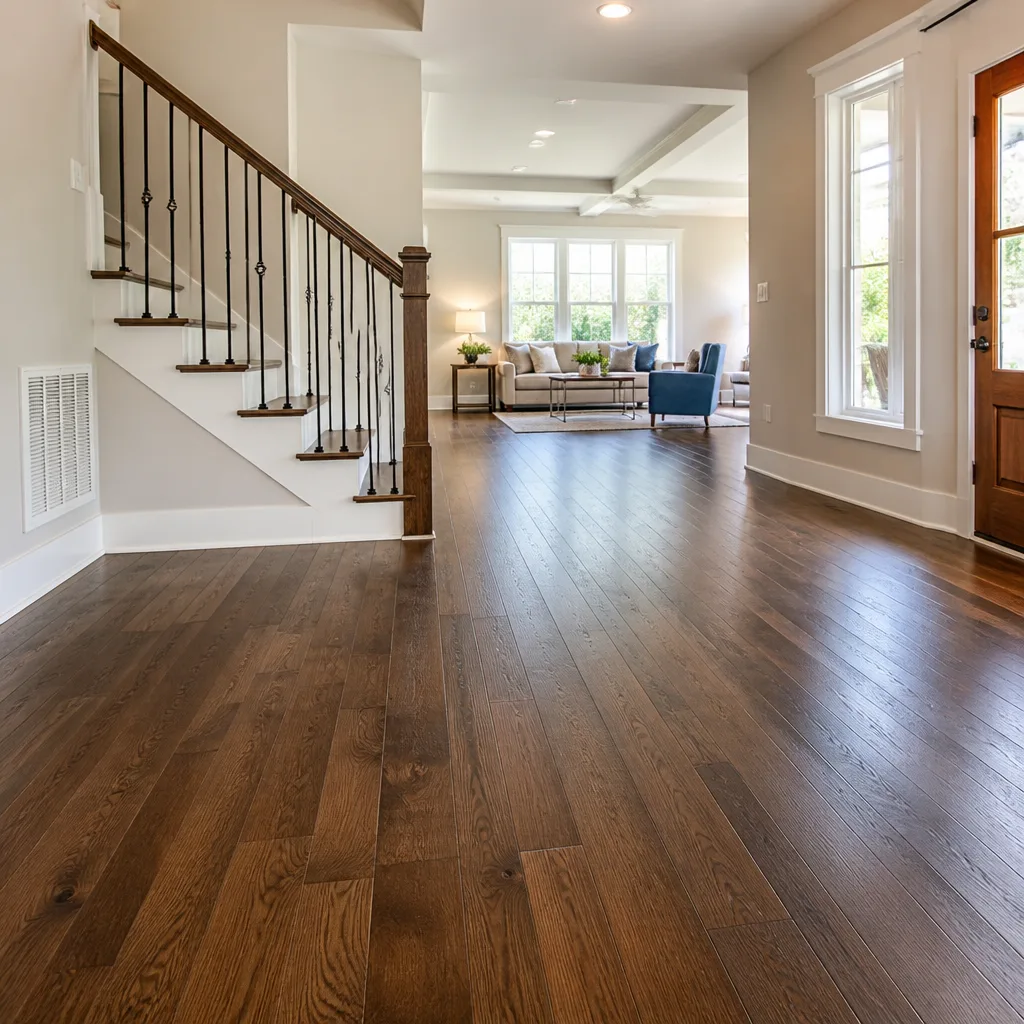 Hardwood
 Engineered hardwood
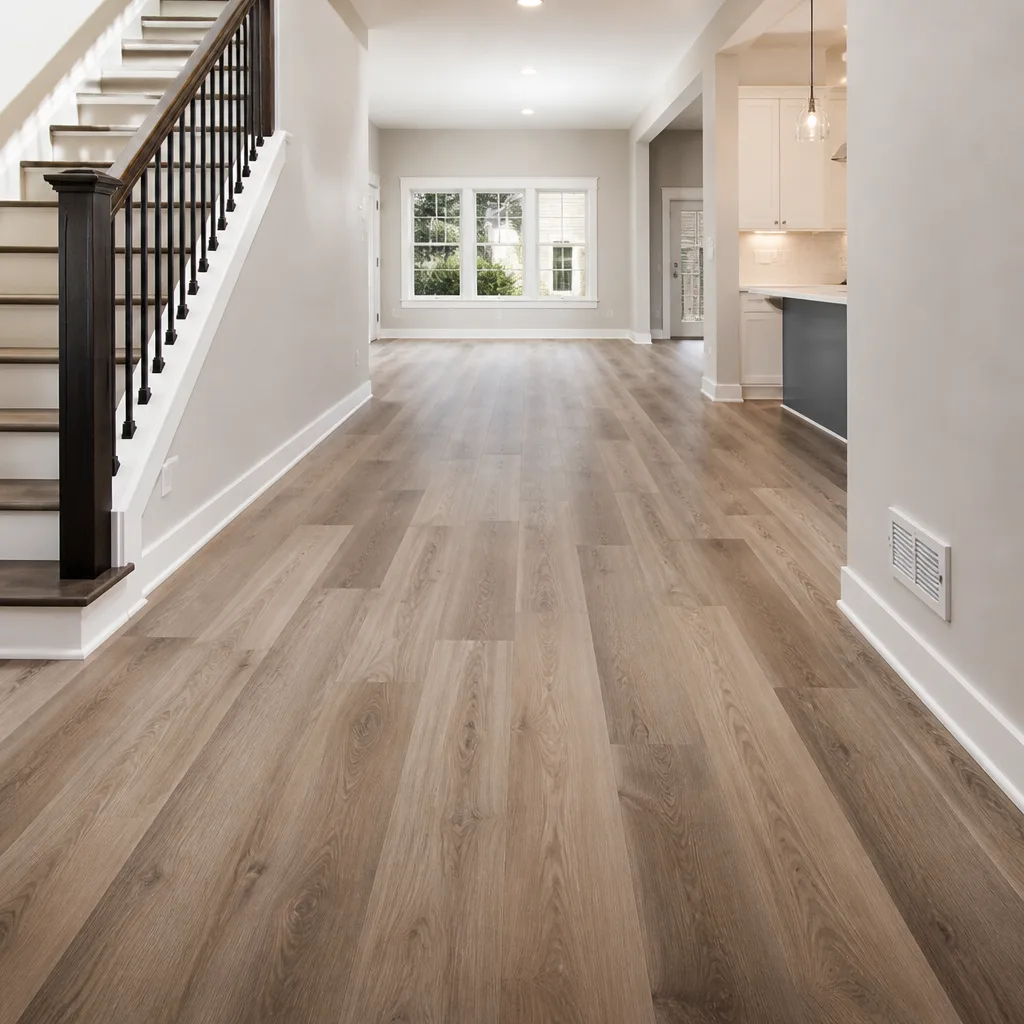 Luxury vinyl plank
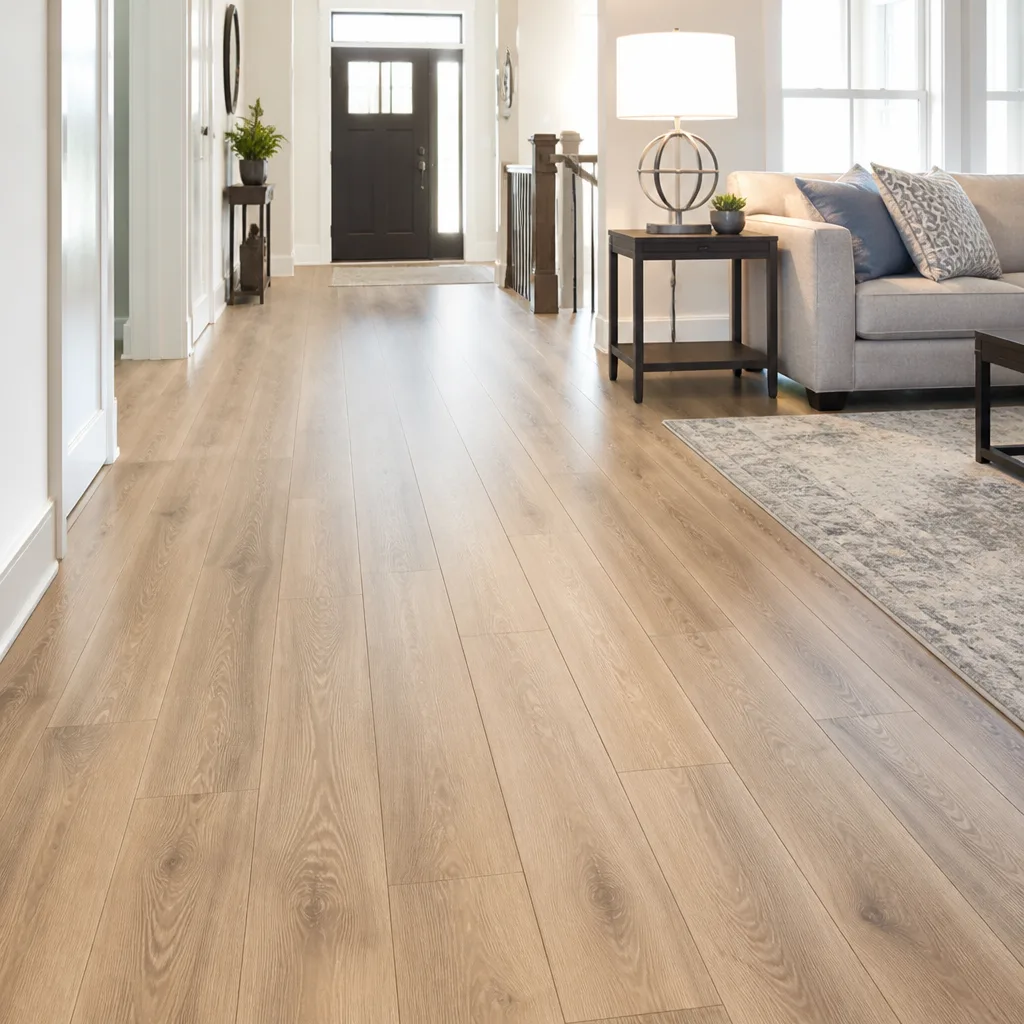 Laminate
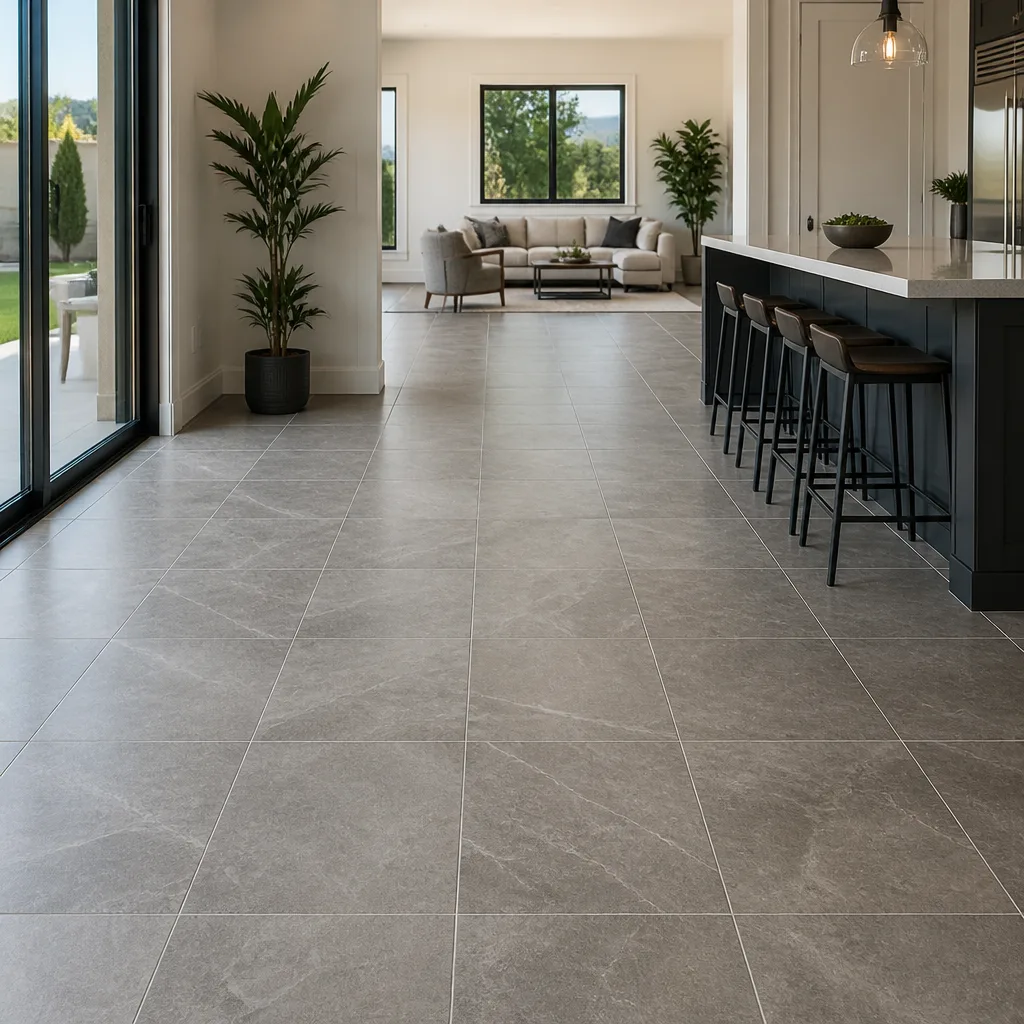 Porcelain tile
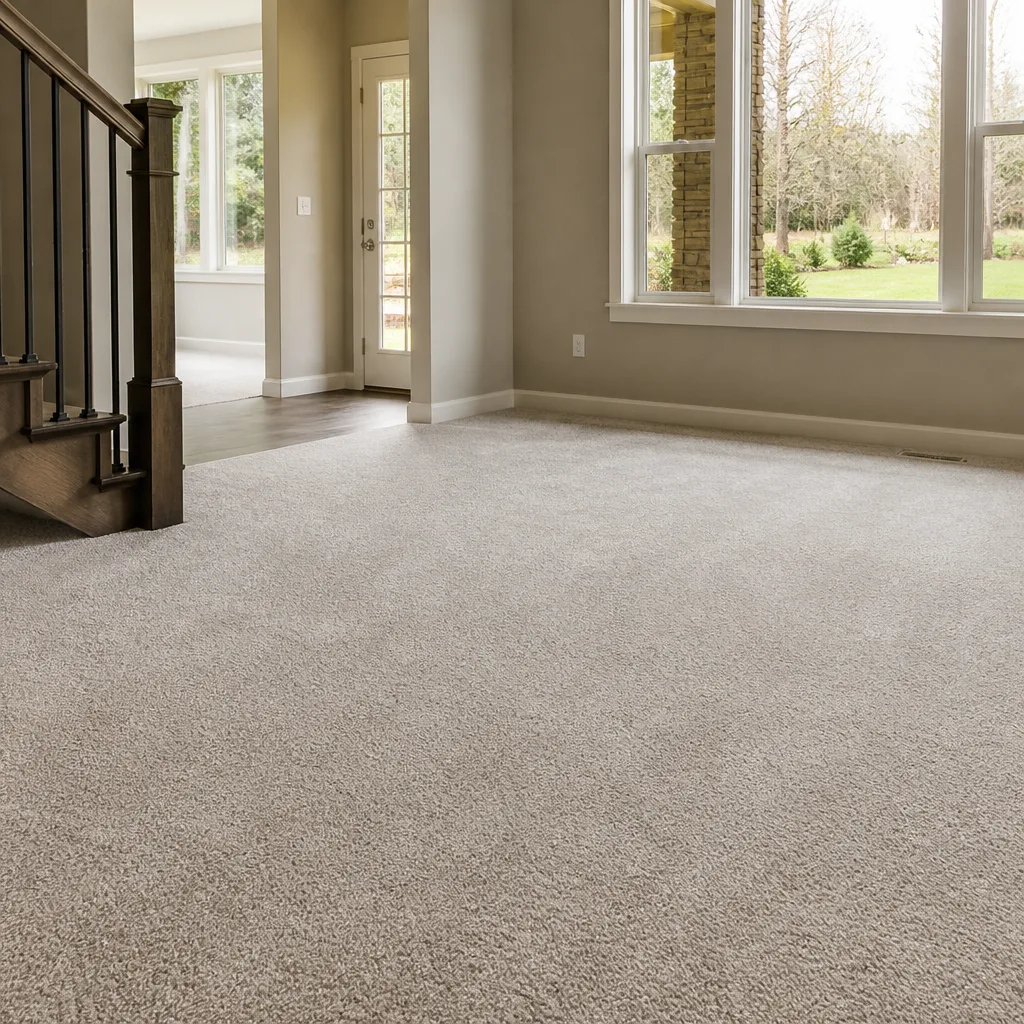 Carpet
 Shaw
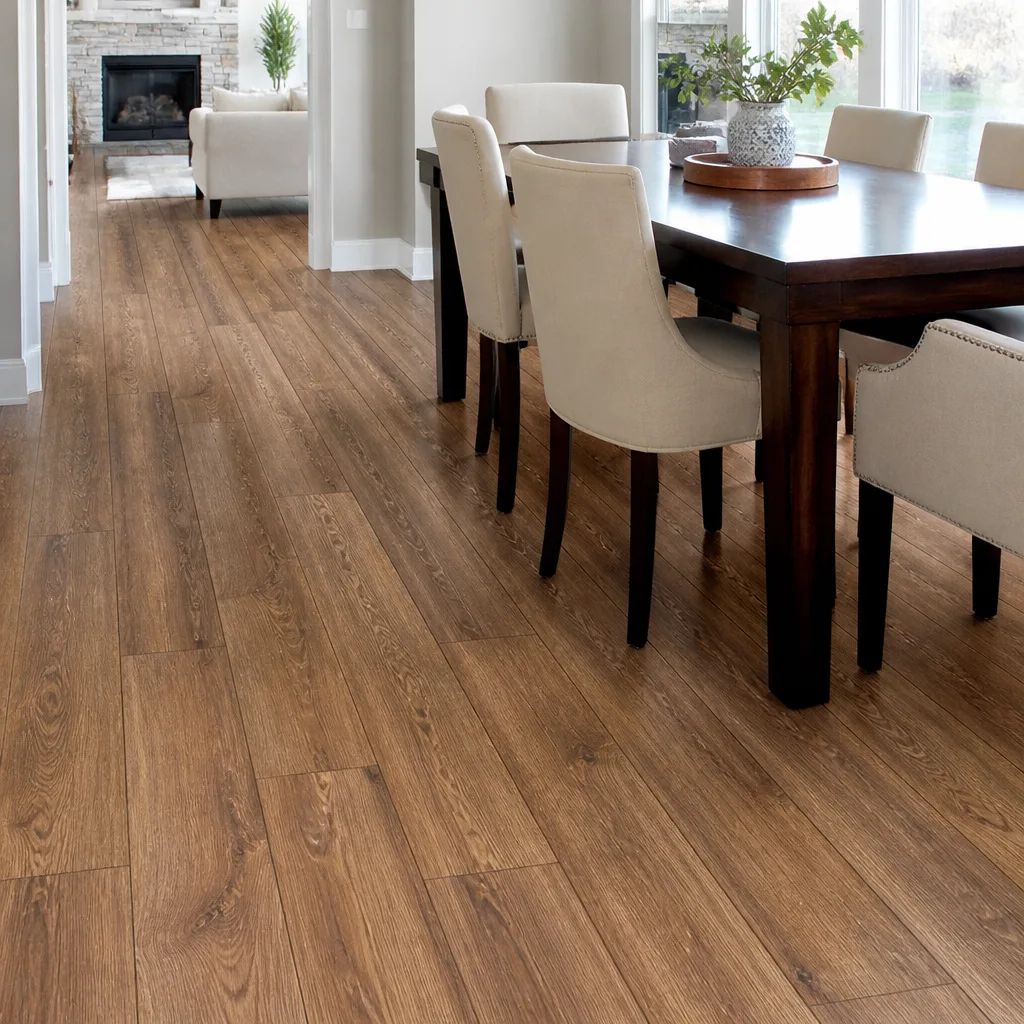 Mohawk
 COREtec
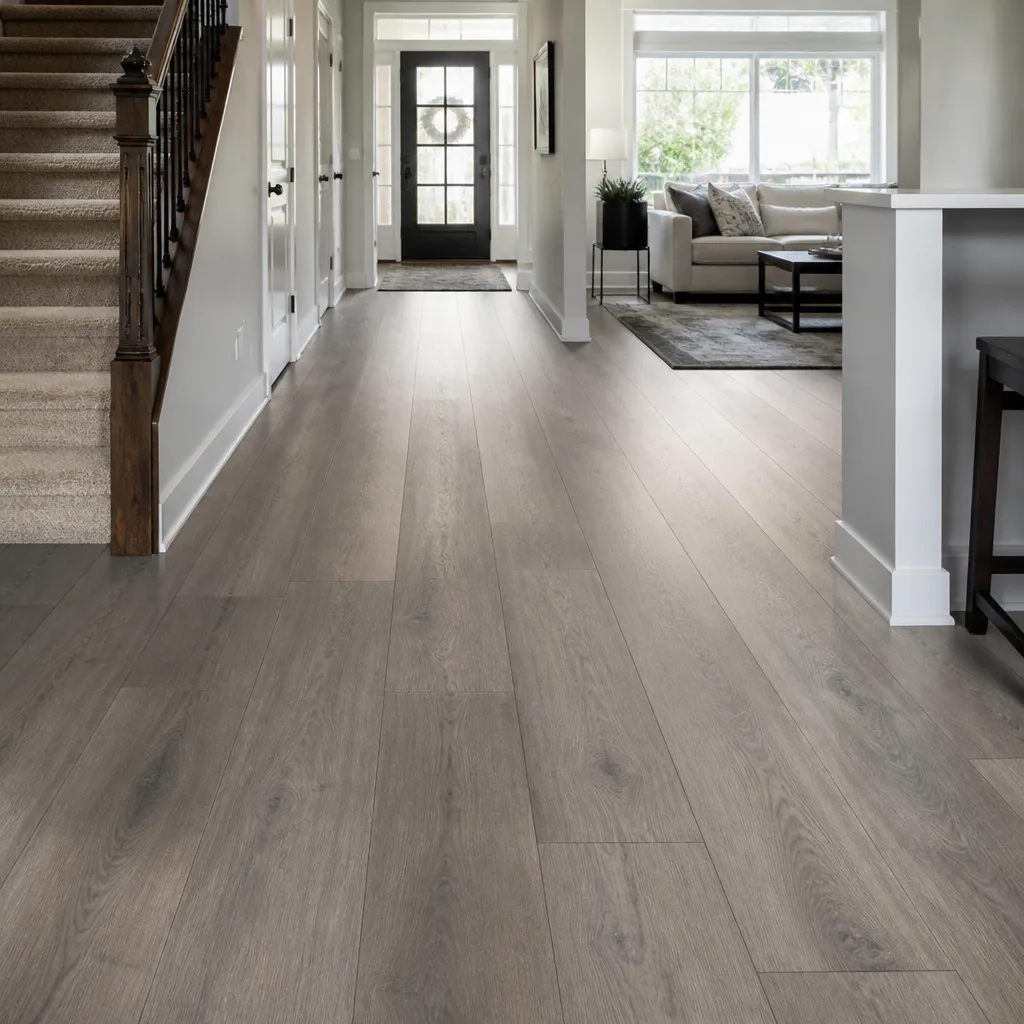 Pergo
Free in-home measure and written estimate: Shaw, Mohawk, COREtec and Pergo lines compared on your own rooms, with carpet, tile, vinyl plank, laminate and hardwood laid out side by side
Get your free estimateHow to Prepare Your Home for a Flooring Installation in Paradise
The number one cause of single-day flooring jobs stretching into two is furniture that wasn’t moved, not material delays or crew problems. That’s a hard thing to hear when you’ve already picked out Shaw carpet and cleared your calendar, but it’s the truth we come back to again and again. Most homeowners under-prepare, and the cost shows up as delays, scuffed baseboards, or a rushed install. This guide walks through the exact preparation sequence that keeps a flooring installation in Paradise on schedule and protects your home from start to finish.
Quick Answer
To prepare for a flooring installation in Paradise, clear every room down to bare subfloor access, plan for acclimation of hardwood and laminate away from the garage’s summer heat, remove baseboards yourself if you’re comfortable doing it, relocate pets and children off-site during install hours, and plan ventilation for at least a few days after adhesive-based installs. The more thorough the prep, the smoother the install day goes for everyone involved.
Styles & brands we work with
- Hardwood
- Engineered hardwood
- Luxury vinyl plank
- Laminate
- Porcelain tile
- Carpet
- Shaw
- Mohawk
- COREtec
- Pergo
Table of Contents
- Why Preparation Matters More Than Most Homeowners Expect
- The 48-Hour Acclimation Rule for Paradise Homes
- Room-by-Room Prep Checklist
- How to Handle Baseboards (and When DIY Removal Costs More)
- Pet and Child Logistics During Install
- Post-Install Ventilation and Off-Gassing in Paradise
- Building a Realistic Prep Timeline
- Common Mistakes to Avoid
Why Preparation Matters More Than Most Homeowners Expect
A flooring installation is a demolition and reconstruction project, even when the room ends up looking identical in size and shape. On install day, a crew arrives with tools, fans, cutting equipment, and a schedule set by the written estimate. If the room isn’t ready, the crew can’t simply wait – they either reschedule or work around obstacles the way they shouldn’t have to.
In Paradise, homes typically run air-conditioned most of the year, which changes how materials behave compared to cooler climates. Carpet and tile installs are relatively forgiving on timing, but hardwood and laminate require the material to sit in the actual living space long enough to adjust to the home’s humidity and temperature. If that step gets skipped or rushed, you can end up with gaps, cupping, or buckling down the road – not because the material was bad or the installer was sloppy, but because the conditions during install weren’t the conditions the floor lives in.
Preparation also protects your home. Doors removed and leaned against a hallway wall, drawers pulled from dressers, and electronics stacked in a closet all get moved repeatedly during install. Clear rooms mean fewer opportunities for damage and fewer surprises. We’ve seen how much smoother a job goes when a homeowner treats prep as part of the project, not the day before.
What “Ready” Actually Means
- All furniture, decor, and personal items removed or relocated off the flooring area
- Closet floors emptied if those rooms are being done
- Electronics, lamps, plants, and wall art moved to a safe room or collected by the homeowner
- Doors removed (or left in place and noted) so crew can bring materials through
- Old flooring inspected for staples, tack strips, and adhesive residue left behind from the previous owner
- Pets and children off the work area for the duration of the install
The 48-Hour Acclimation Rule for Paradise Homes
Acclimation means letting your new flooring sit in the room where it will be installed for at least 48 hours before installation day. This rule matters most for hardwood and laminate, which are more sensitive to temperature and moisture swings. The goal is simple: let the material settle into the conditions of your home so it doesn’t shift after it’s installed.
Here’s where Paradise homeowners get tripped up. The instinct is to stack boxes of planks in the garage because it’s the easiest open space. In a Paradise summer, the garage is often the hottest, driest, and most humid place in the house depending on the time of day – a swing that has nothing to do with the conditioned air inside. Acclimating in the garage can mean the material absorbs one set of conditions and then moves when it’s installed indoors.
Do this instead:
- Move materials directly into the rooms where they’ll be installed.
- Keep the space air-conditioned at the temperature you normally use.
- Leave the material in its packaging for the period the product instructions call for.
- Don’t open the boxes earlier “to check the color” – the material needs the room’s air, not your inspection.
- Keep the space off-limits to pets and kids so nothing gets scratched, spilled on, or walked over.
If the acclimation window conflicts with install timing, tell us at the estimate visit so we can schedule around it. It’s much easier to plan the install day around acclimation than to discover a problem after the floor is down. Product boxes and the written estimate will spell out the specific acclimation requirement for the material you choose.
What About Tile and Carpet?
Tile doesn’t need the same acclimation period as wood, but the room needs to be clear and the subfloor clean and sound. tile flooring installation often involves setting materials that need time to cure, so a room may be out of commission for more than one day. Carpet, by contrast, installs quickly once the room is cleared, and the padding and tack strips are typically done in the same visit. If you’re planning a full-home project across surfaces, our crew can sequence the install so carpet, tile, and wood don’t compete for the same day.
Room-by-Room Prep Checklist
Different rooms need different prep. Here’s a room-by-room breakdown we give homeowners before install day, tailored to how Paradise homes are typically laid out.
Living and Dining Rooms
- Move sofas, chairs, tables, and any media furniture to another room or out of the house
- Unplug and relocate TVs, lamps, speakers, and gaming setups
- Take down wall art and décor that could be bumped during material transport
- Clear floor fans, area rugs, and pet beds
- Roll up curtains or blinds if they hang near the floor
Bedrooms
- Bed frames, mattresses, and box springs all need to be moved – the crew will not move mattresses or beds
- Clear nightstands, dressers, and anything sitting on the floor
- Empty closets completely if the closet floor is being redone
- Remove items from under the bed and benches
Kitchen
- Move small appliances off the floor area and onto counters or out of the room
- Clear chairs from under tables and barstools from island counters
- Unplug and move any rolling carts or standalone shelving
- If tile is being installed around cabinets, plan for access by emptying lower cabinets the crew needs to work around
Bathrooms
- Remove bath mats, wastebaskets, and freestanding shelves
- Clear the vanity area of items on the floor
- If tile work is planned, keep children and pets out of the room until grout cures
Hallways and Closets
- Remove everything from hallway floors, including shoe racks and storage bins
- Empty linen closets if the flooring underneath needs replacement
What Professional Crews Will and Won’t Move
Set clear expectations ahead of time. Our crews will move small items that end up in the work path so they can actually install, but they aren’t movers. They won’t move pianos, safes, aquariums, large appliances, mattresses, or furniture pieces too heavy for two technicians. If those items aren’t relocated ahead of time, install day stalls or gets rescheduled. Billiards tables, built-in shelving, and wall-to-wall bookshelves need a separate plan because they often get removed and reinstalled by specialists.
How to Handle Baseboards (and When DIY Removal Costs More)
Homeowners ask all the time whether they should remove baseboards themselves. The honest answer: sometimes yes, and sometimes you’ll spend more money fixing your own removal than you’d have paid to have it removed professionally. It depends on how your baseboards are installed and how comfortable you are with a pry bar.
Removing baseboards is often the fastest way to save labor cost on a flooring project because the crew can install the new floor right to the wall without cutting around trim. If you want to handle it yourself, here’s the safe approach:
- Score the caulk line where the baseboard meets the wall with a utility knife.
- Slide a thin pry bar behind the trim at a stud location and work gently.
- Work along the wall in short sections, not from one end.
- Label each piece with its room and wall position so it can go back in the right place.
- Pull nails out the back of the trim, not through the front face.
That said, if your baseboards are glued, painted into the wall, or installed with a tricky profile, cracks, splits, and gouged drywall are common. Fixing those repairs often costs more than paying for removal. In older Paradise homes, baseboards sometimes hide wiring or were installed after the original flooring, so removing them reveals conditions that need to be dealt with anyway. If you’re not sure, ask at the estimate visit. A short conversation now saves a headache on install day.
Reinstalling vs. Replacing
Reinstalling existing baseboards keeps you from buying new trim and paint supplies. Replacing them is the right move if the old trim is damaged, undersized, or dries out from years of dry desert air. Patching nail holes and touching up paint afterwards are homeowner projects that need to wait until the new floor and trim are fully set.
Pet and Child Logistics During Install
The best way to plan install day with pets and kids is to book them out of the house – with a friend, a sitter, or a boarding facility. Crews are moving materials, using cutting tools, and opening and closing doors repeatedly. That’s not a safe environment for curious toddlers or pets who don’t respond well to strangers.
How Long Will the House Be Disrupted?
Timing depends on square footage and surface type. As a general planning guide, not a promise:
- One small room (bedroom, office, or bath): plan a single day and keep that room off-limits until the work is done.
- Two to three rooms: expect the install to stretch across more than one day, especially if acclimation windows overlap.
- Whole-home: plan for the install to run across multiple days and consider staying elsewhere for part of that stretch.
If pets are staying in the home, put them in a closed room or a crate far from the work area. Lock pet doors, keep food and water bowls in the far room, and expect a lot of noise. After install, keep pets off the new floor for the period the product instructions recommend – some materials want extra time to settle before foot traffic.
Our team’s installers understand that a busy household needs a plan. We’ll walk through schedule expectations at the estimate visit so you can arrange pet care or kid logistics around the actual install window rather than guessing.
Post-Install Ventilation and Off-Gassing in Paradise
Ventilation after install matters, especially for adhesive-based installs. Glues, finishes, and sealers release gases as they cure, and Paradise homes tend to run sealed and air-conditioned. That tightness is great for energy efficiency and bad for clearing out install odors. Plan to ventilate before you need the room.
Here’s the protocol we recommend:
- Open windows and screened doors during install hours if outdoor air quality and temperature allow, so the space exchanges air rather than trapping it.
- Run exhaust fans in adjacent bathrooms, laundry rooms, or kitchens for several hours at a time during the first few days.
- Use box fans or portable air movers pointing out of a window to push stale air out and pull fresh air through the space.
- Keep the room unoccupied for the period the product instructions recommend after adhesives or finishes go down.
- Don’t close up the house immediately after install just because the AC is running – give the space a real air exchange before you go back to normal living.
If you’re sensitive to odors or have family members with respiratory concerns, mention it at the estimate visit. We can help plan around adhesive-based installs by sequencing rooms so the rest of the house stays usable. For tile and carpet, the off-gassing window is typically shorter than for adhesive-set materials or hardwood finishes, but the room still needs air movement.
Bedrooms and Closed Doors
Rooms with closed doors and no cross-ventilation trap gases longer. If you can, leave doors open across adjacent bedrooms and set up at least one fan per room to move air. It may make the house feel noisy for a couple of days, but it clears the space faster.
Building a Realistic Prep Timeline
The single biggest reason prep goes sideways is starting too late. Here’s a prep timeline we’ve seen work well for flooring installs in Paradise, whether you’re doing one room or a full redo.
- Two weeks out: confirm the estimate, choose materials, and confirm the install date. Start decluttering and donating items you won’t be moving back.
- One week out: arrange furniture storage or relocation. Book pet boarding or a sitter for install days. Schedule baseboard removal if you’re DIY-ing it.
- 48 to 72 hours out: move furniture and personal items out of the install rooms. Vacuum floors so installers deal with less dust.
- Day before install: remove remaining decor, electronics, and small items. Set out the materials for acclimation if the product calls for it. Confirm access routes for the crew.
- Install day: plan to be away from the home or in a room far from the work area. Keep pets and children elsewhere.
If you’re installing from the full range of brands we work with – Shaw, Mohawk, COREtec, Karndean, and others – the acclimation and handling requirements can differ from brand to brand. Our team can walk you through those specifics at the estimate so you’re not guessing.
Whole-Home Projects
For a whole-home flooring project, the prep timeline usually needs extra weeks because every room needs a clear-out plan and the install has to be sequenced. If your carpet installation is happening in bedrooms while tile goes down in bathrooms and hardwood gets refinished in the main living area, the schedule will follow a pattern rather than a single day. Get the sequencing right at the estimate stage and the rest falls into place.
Common Mistakes to Avoid
- Acclimating materials in the garage. In a Paradise summer, the garage hits temperatures and humidity swings that have nothing to do with your indoor air. Materials should always acclimate in the room where they’ll be installed.
- Assuming the crew will move heavy furniture. They won’t. Pianos, safes, aquariums, mattresses, and full dressers all need to be relocated by the homeowner or a hired mover before install day.
- Removing baseboards yourself without checking what’s behind them. Older Paradise homes sometimes have wiring or plumbing tucked behind baseboards. A quick check before prying saves an expensive repair.
- Keeping pets and children in the work area. It slows the crew, creates safety risk, and often leads to damaged flooring or reopen trips. Book them offsite for install day.
- Skipping ventilation after adhesive-based installs. Sealed air-conditioned homes trap odors. Plan for cross-ventilation and fans for a few days, not one hour.
- Forgetting about closets. Closet floors still need to be replaced and cleared. If a closet is packed, it’s still part of the job and needs prep just like any other room.
- Not confirming the install day’s access route. Doorways, hallways, and stairwells need to be clear for moving new material in and old material out. A blocked route pushes install time.
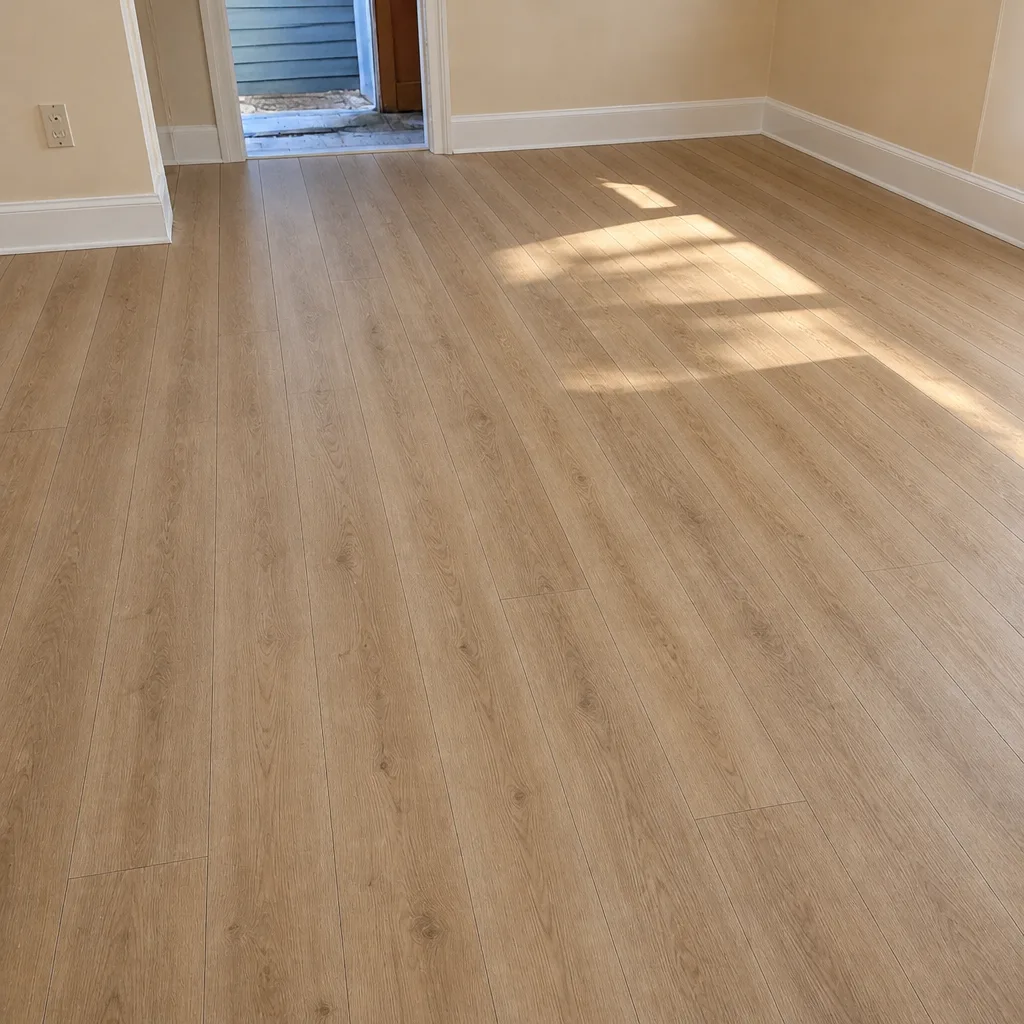
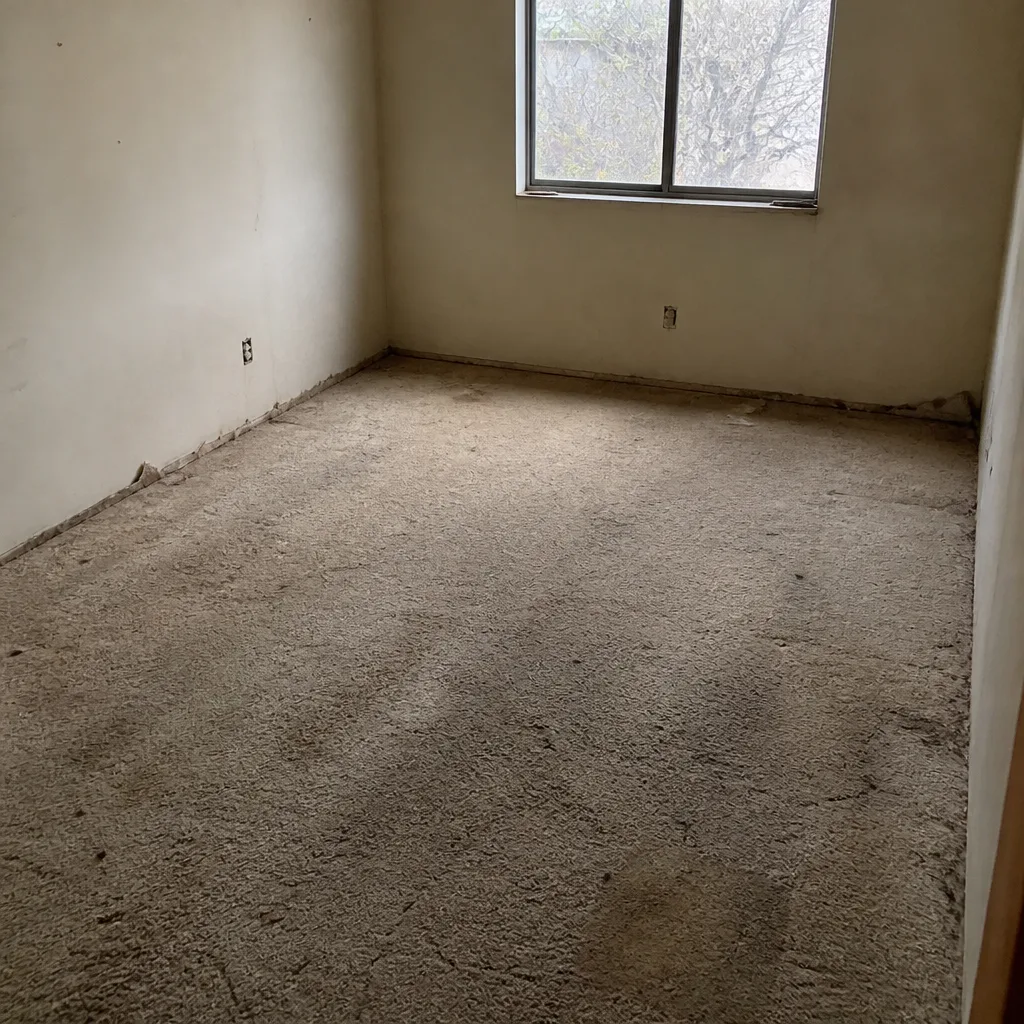
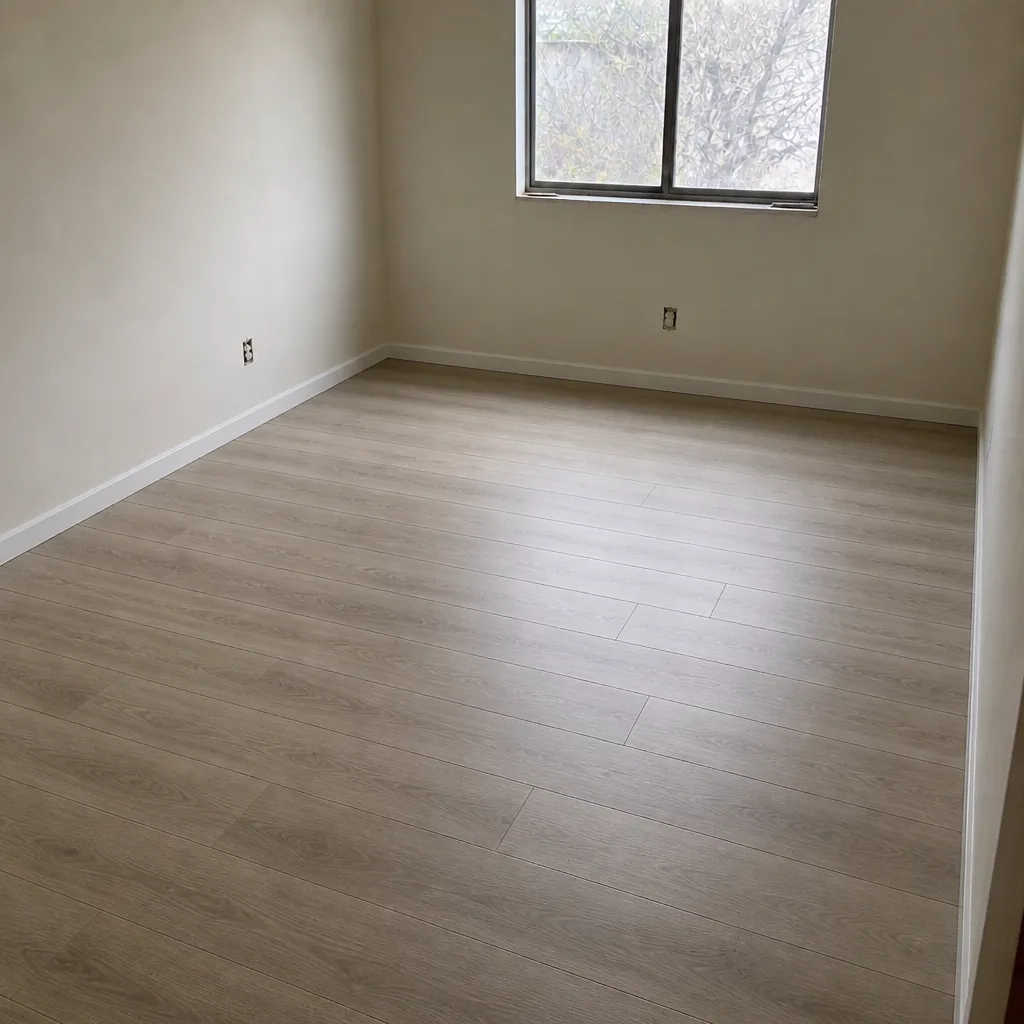
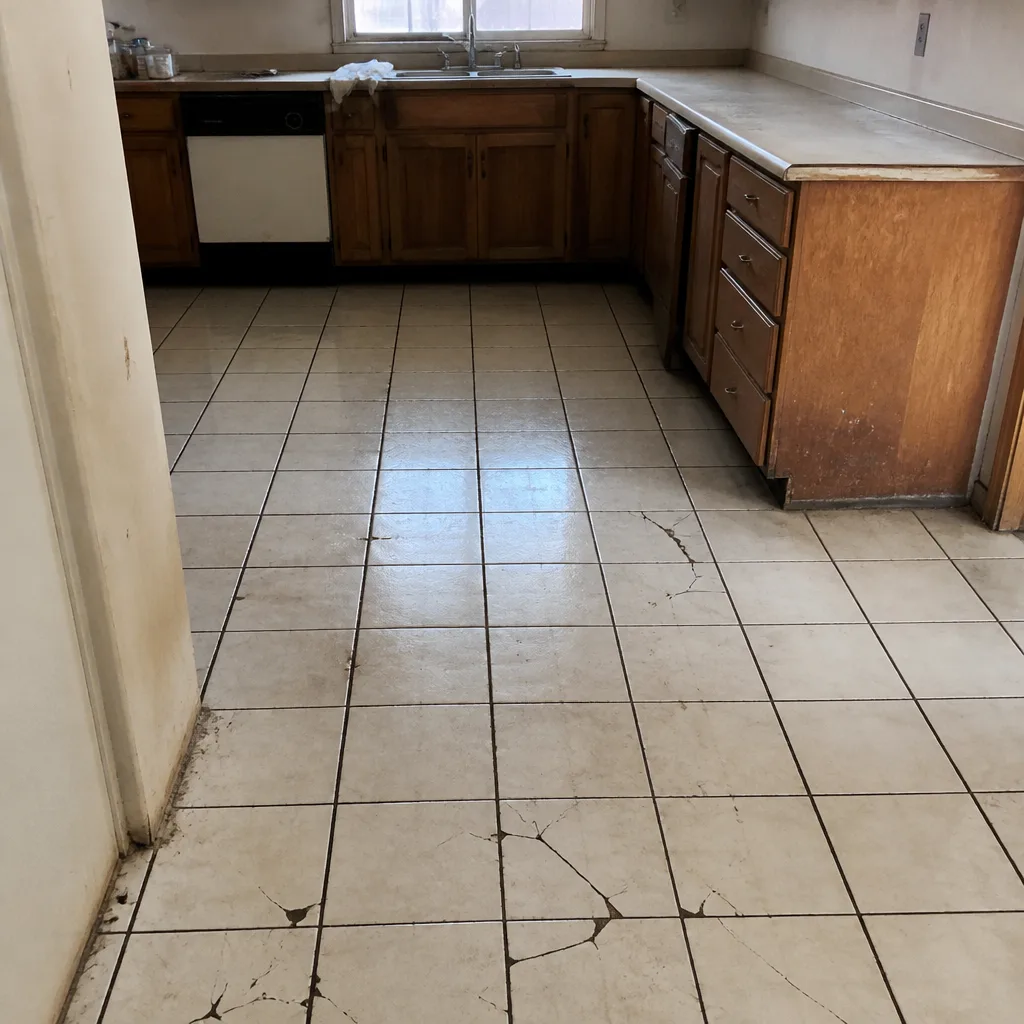
See the difference
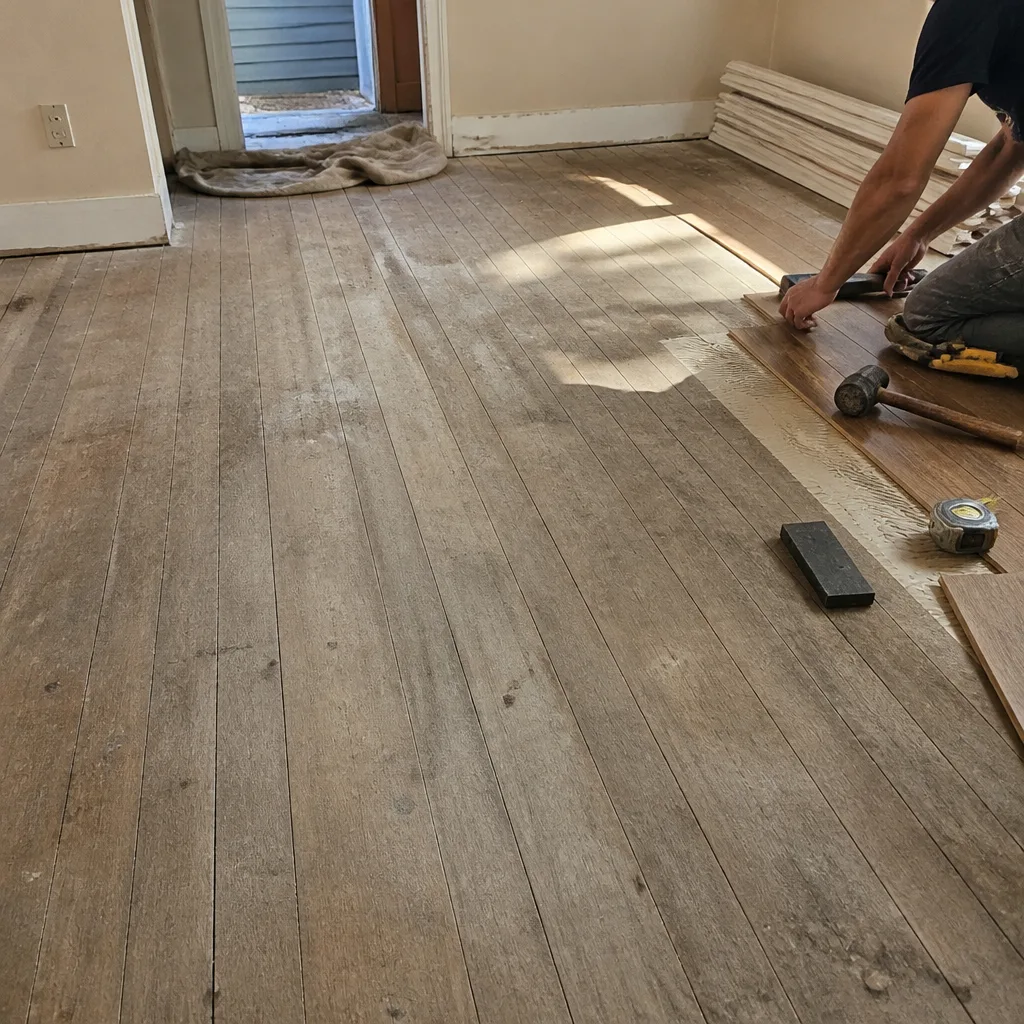 Before
 After
 Before
 After
 Before
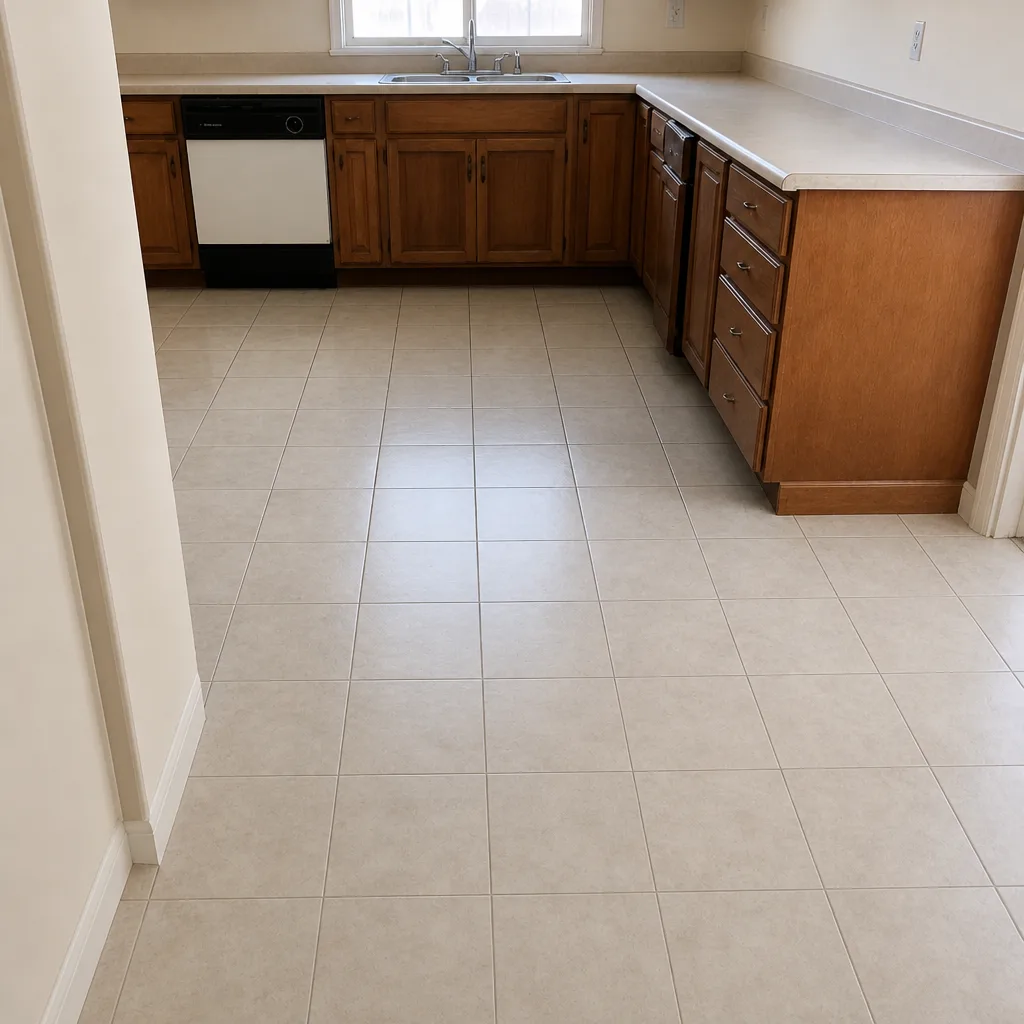 After
When to Call a Professional
Some projects are worth calling in help for prep alone. If your home has glued-down baseboards, if you suspect wiring or plumbing behind trim, if rooms are packed wall-to-wall, or if you need a whole-home installation sequenced across carpet, tile, and hardwood, get a professional assessment before install day. Case-by-case questions like which surface goes where and how to handle the acclimation window in Paradise homes are exactly what the estimate visit is for.
Our team at Paradise Flooring Installation prepares and installs carpet, tile, and hardwood refinishing across Paradise. We source from nine brands including Shaw, Mohawk, COREtec, Karndean, and Daltile, and our technicians have up to 11 years of experience. We can also help you plan a Paradise flooring project around a busy household. Call (844) 651-6528 for a free estimate.
Frequently Asked Questions
Start about two weeks before install day, with decluttering and furniture storage set up earlier. Confirm your estimate and install date first, arrange pet and child care for install day, and handle any acclimation window starting at least 48 hours before the crew arrives.
Yes, all furniture must be moved out of the install area by the homeowner before install day. Crews will move small items out of the work path, but not pianos, safes, aquariums, mattresses, or large dressers. If those items aren’t relocated, the install gets delayed or rescheduled.
The garage in a Paradise summer hits temperature and humidity swings that don’t match your indoor air. Materials acclimated in the garage may shift or cup after install because they weren’t exposed to the conditions the floor will actually live in. Always acclimate in the room where the floor is going down.
Plan to ventilate for several days after adhesive-based installs. Open windows and screened doors as temperatures allow, run exhaust fans, and keep box fans pushing stale air out of a window. Follow the product instructions for how long the room should stay unoccupied before normal use.
You can remove baseboards yourself if they’re nailed (not glued), if you’re comfortable with a pry bar, and if you’ve checked that nothing is hidden behind them. If they’re glued, painted in, or built up from older materials, hire removal – repairing cracked drywall and trim usually costs more than paying for removal.
If the room isn’t cleared, the crew may have to reschedule, which pushes the project back into the next opening, Sunday through Friday, 7am to 7pm. We’re closed Saturday. The estimate visit is the best time to nail down your prep plan so this doesn’t happen.
The Bottom Line
Preparation is what separates a smooth flooring installation in Paradise from a job that drags into extra days. Clear every room before the crew arrives, acclimation in the actual install space rather than the garage, handle baseboards honestly, keep pets and children out of the work area, and plan ventilation after any adhesive-based installs. Get those five things right and the install day stays on schedule. Call (844) 651-6528 for your free estimate. We answer 24/7. Fast dispatch from 7am to 7pm, Sunday through Friday.
Written by the team at Paradise Flooring Installation.